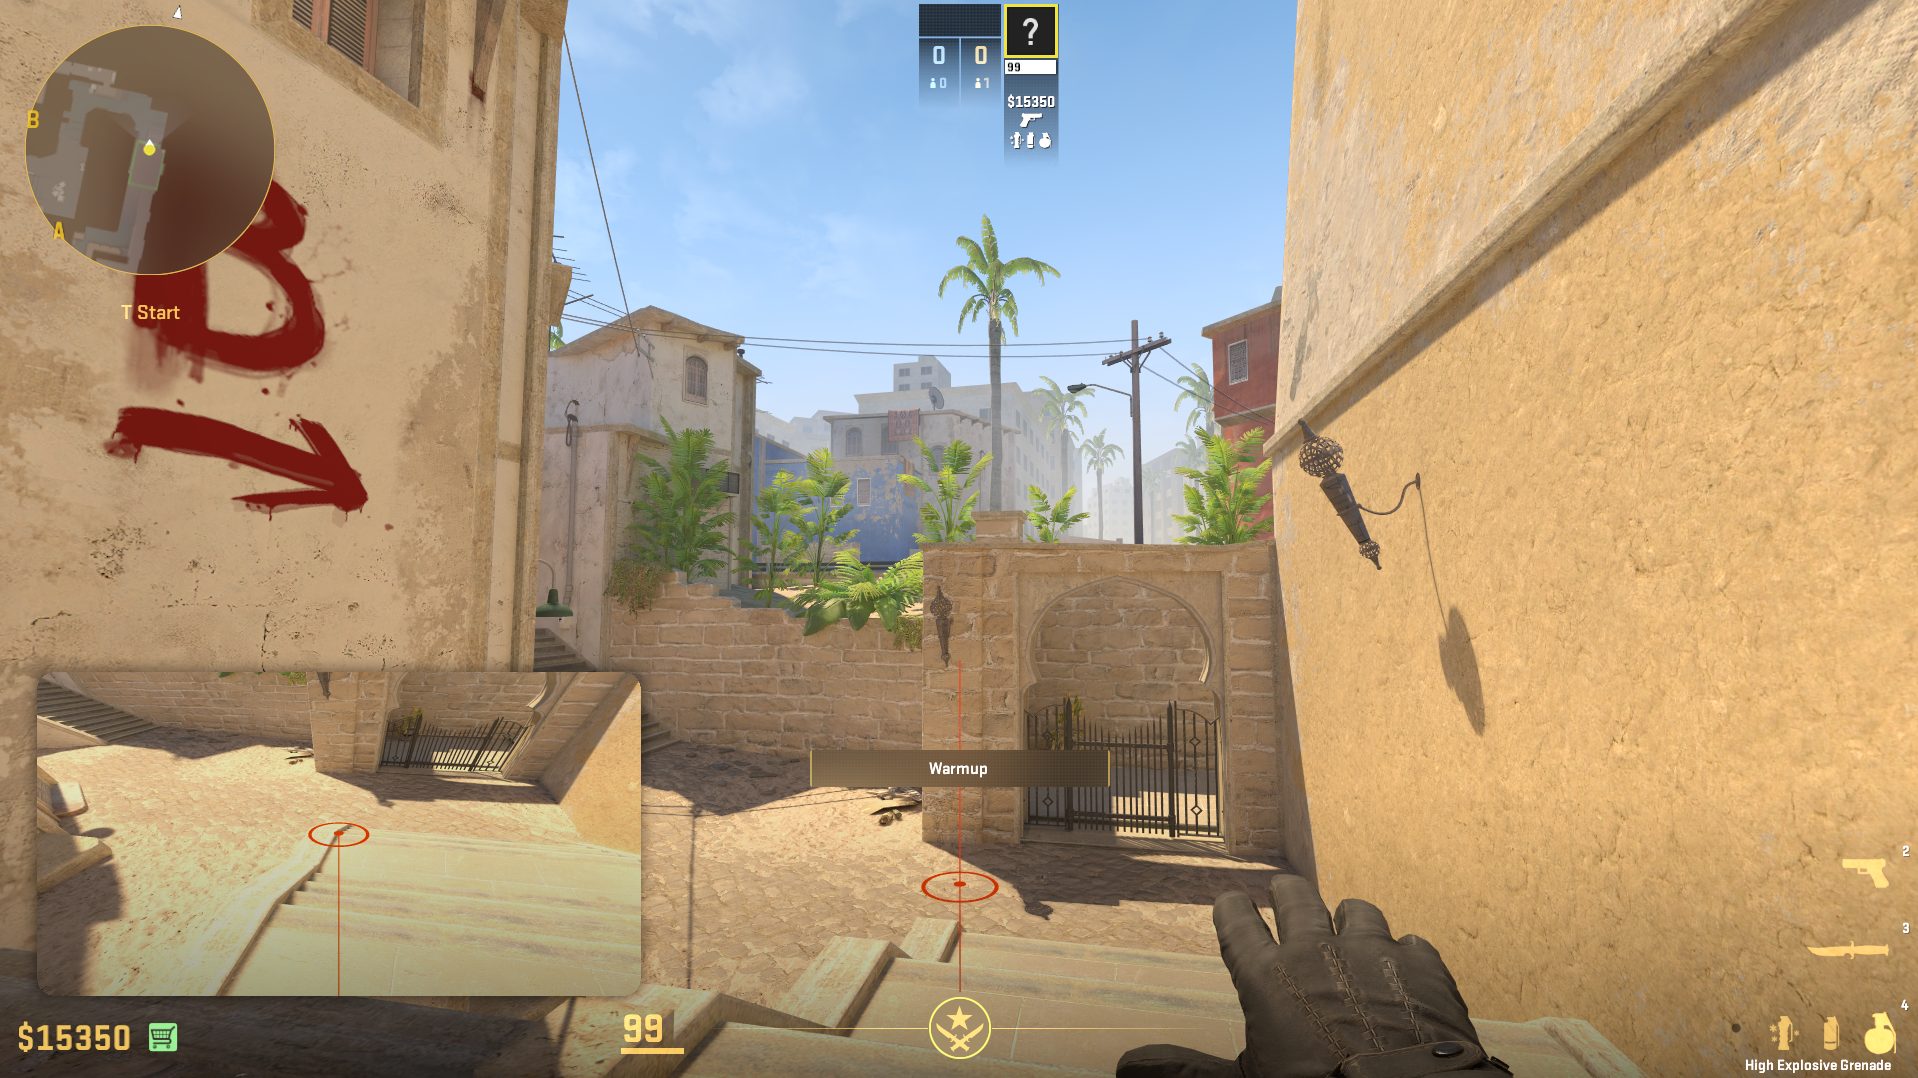
The Grenade Cam in CS2 lets you see exactly where your grenade will land, kind of like a mini video-in-video on your screen. This only works in Practice Mode or custom servers, so it’s safe to use without giving yourself an unfair advantage in real matches. It’s perfect for learning tricky throws and getting better at using grenades quickly.
Methods to Enable the Grenade Camera Preview
You can activate this feature easily through the practice menu interface or directly using a console command for custom server setups.
1. Use In-Game Practice Settings
This is the simplest way to get the grenade cam working on official maps against bots.
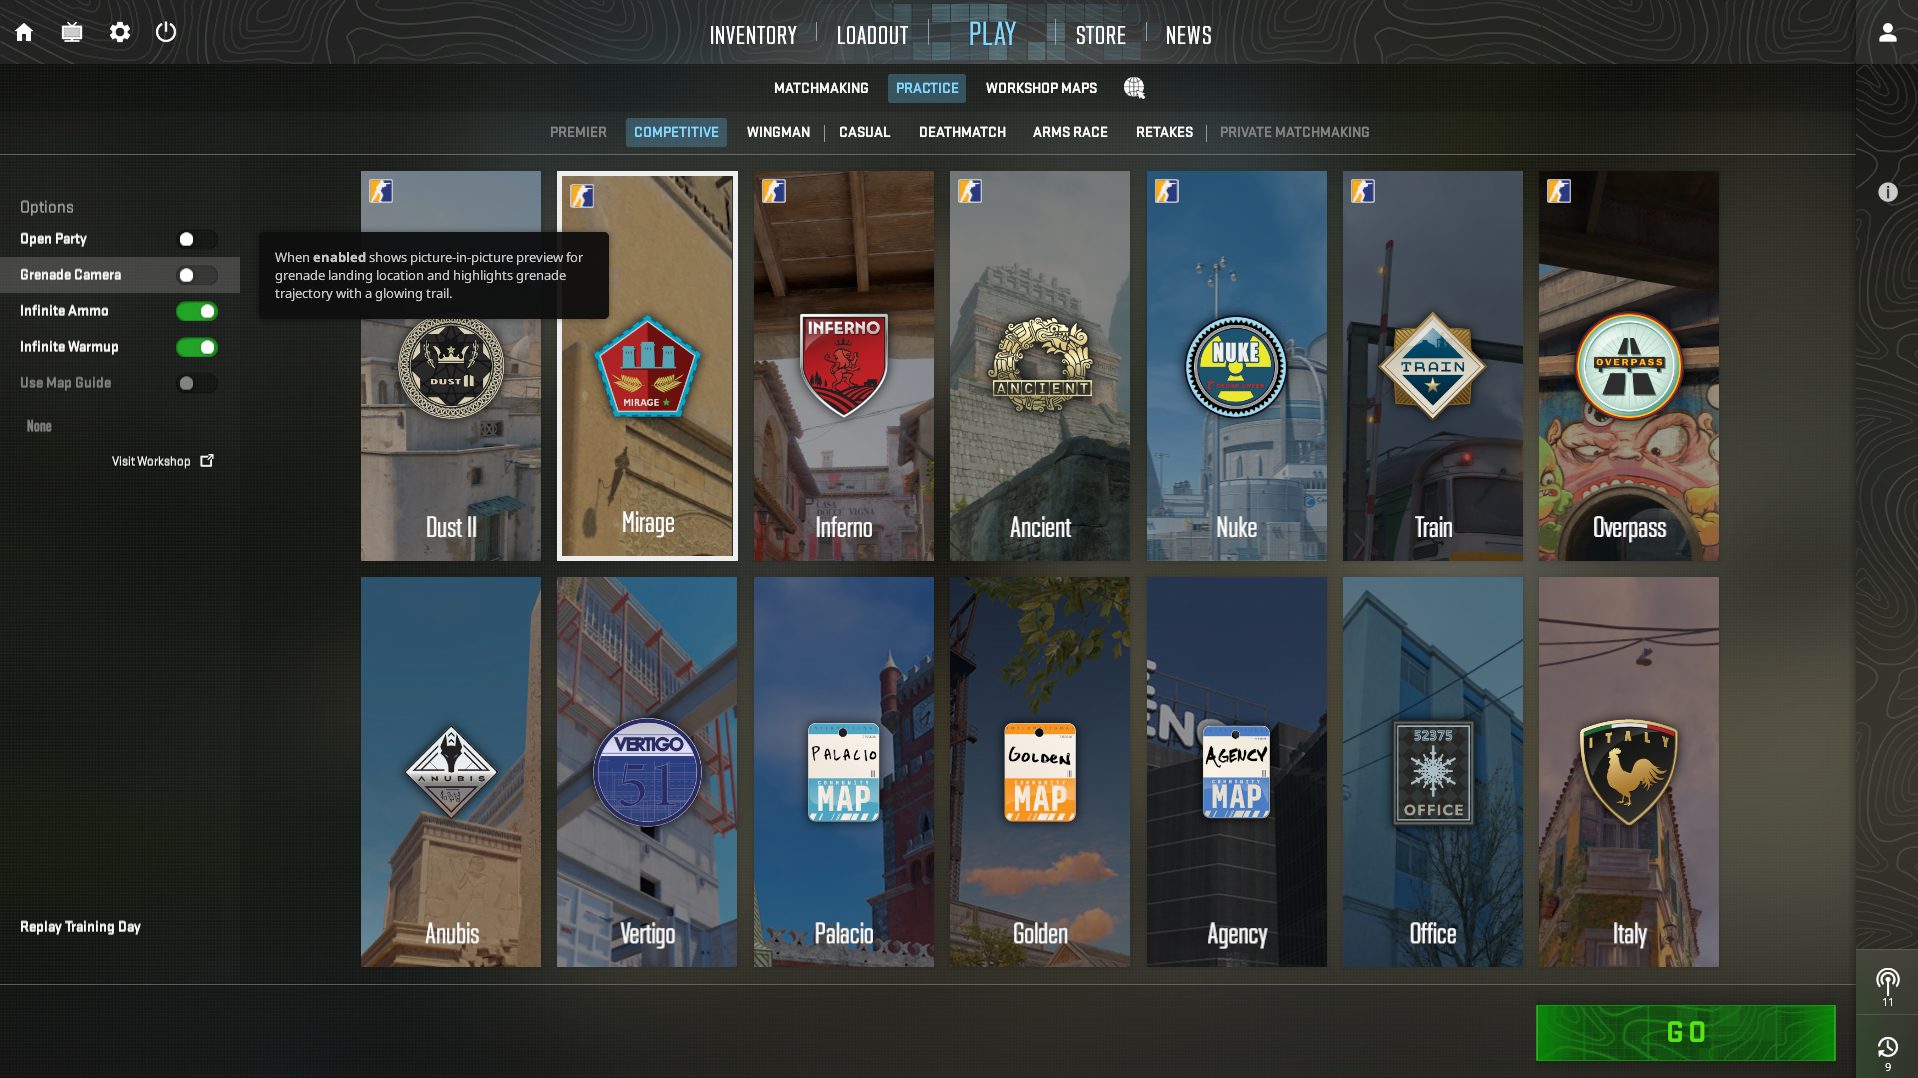
- Go to Practice: From the main menu, click Play and select the Practice tab.
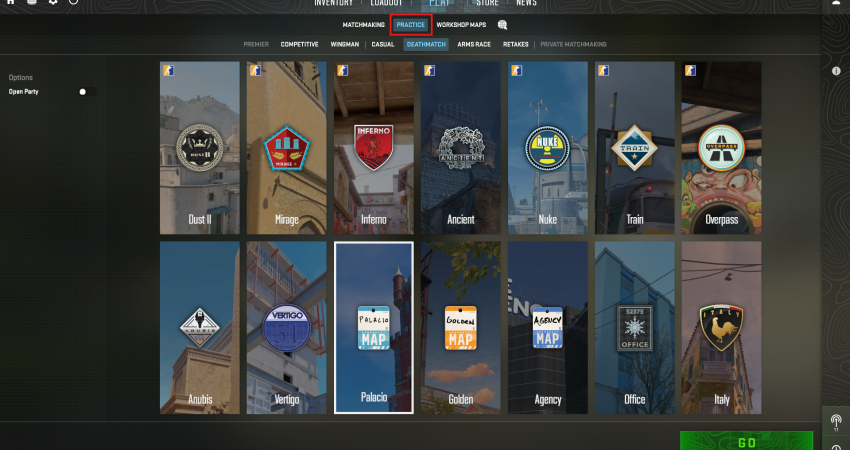
- Toggle Option: Before launching your chosen map, you will see a series of toggles on the left side.
- Enable Camera: Switch the Grenade Camera option to ON. The camera will activate automatically when you pull the pin on a grenade in the match.
2. Use the Console Command (For Custom Servers)
If you launch a private server or a workshop map, you must use the following commands manually.
- Enable Cheats: Open the console (~) and first type sv_cheats 1 to unlock all practice commands.
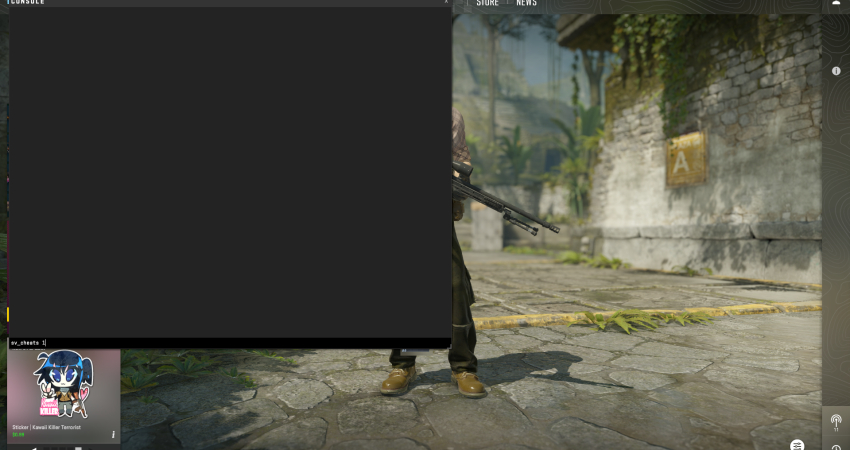
- Enter Command: Input the specific command for the camera: sv_grenade_trajectory_prac_pipreview true.
- Activate: The camera will appear on the left side of your screen when you pull the pin on any grenade.
[RELEVANT: How To Get Better in CS2?]
Conclusion
The Grenade Cam is a super useful tool for learning and practicing grenades in CS2. Showing exactly where your grenades will land helps you improve faster and master tricky throws. Whether you use the PiP camera or just the simple arc line, practicing with these tools will make you more confident and accurate when throwing grenades in real matches.