

Ever wanted to change how the HUD looks while playing a CS2 match? Maybe you want a different color or size? Well, CS2 actually allows players to do that. If you want to learn how you can do that, too, you’re at the right place. Here’s a complete guide on how to change your CS2 HUD.
Changing Your CS2 HUD
The great thing about CS2 is that you can change the HUD without going through complicated commands. All you have to do is go to Settings > GAME > HUD for the main HUD settings and then go to Settings > VIDEO > HUD EDGE POSITIONS for the horizontal and vertical adjustments. If things still seem a bit confusing, here’s a step-by-step explanation of the process.
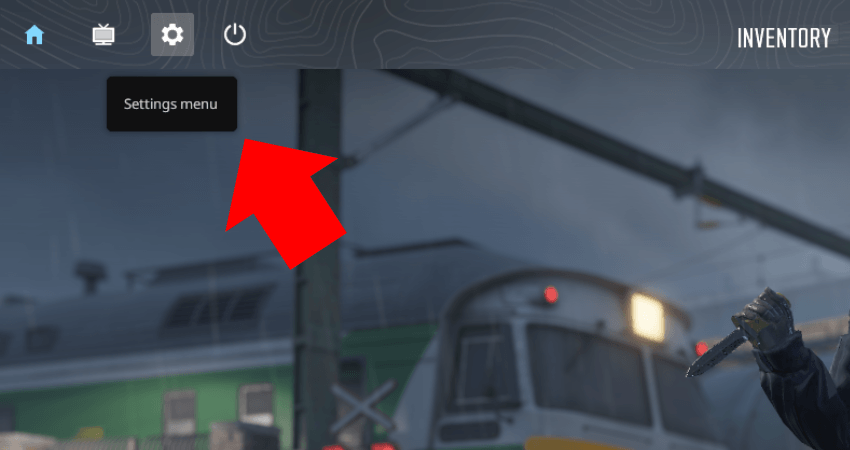
Step 1: Launch CS2 and click on the Settings icon from the home screen.
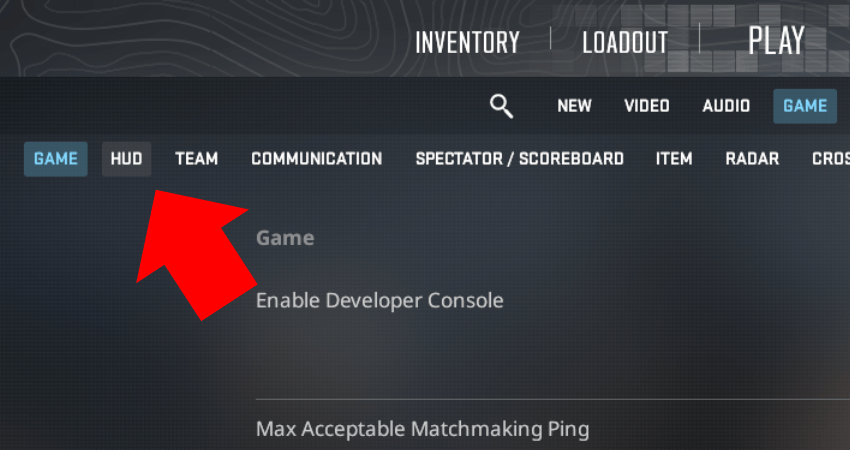
Step 2: Click the “GAME” option.

Step 3: Click the “HUD” option.
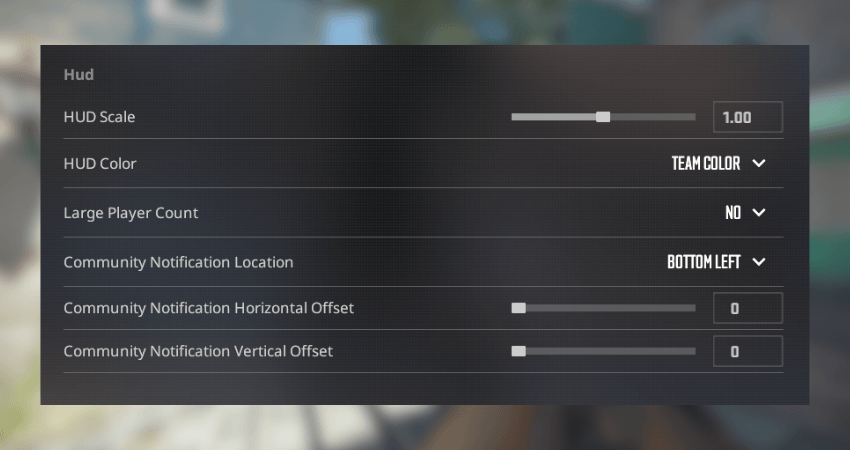
Step 4: Go through all the HUD settings available and set them based on your preferences.
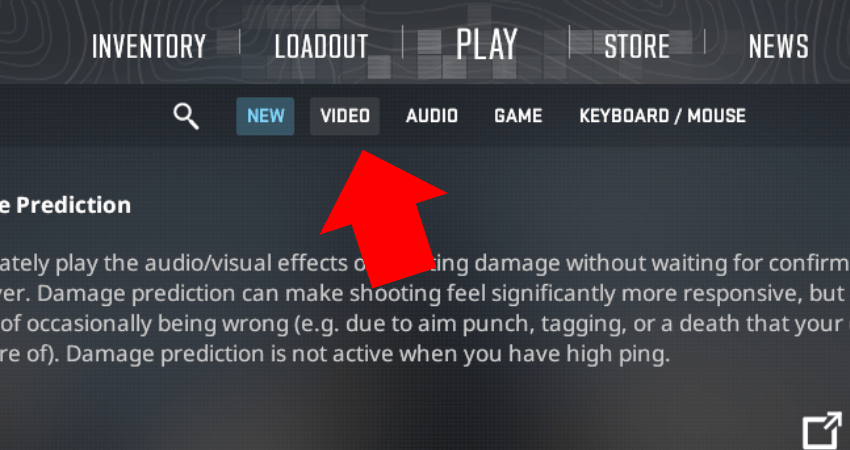
Step 5: Click on the “VIDEO” option.
Step 6: Click the “HUD EDGE POSITIONS” option.
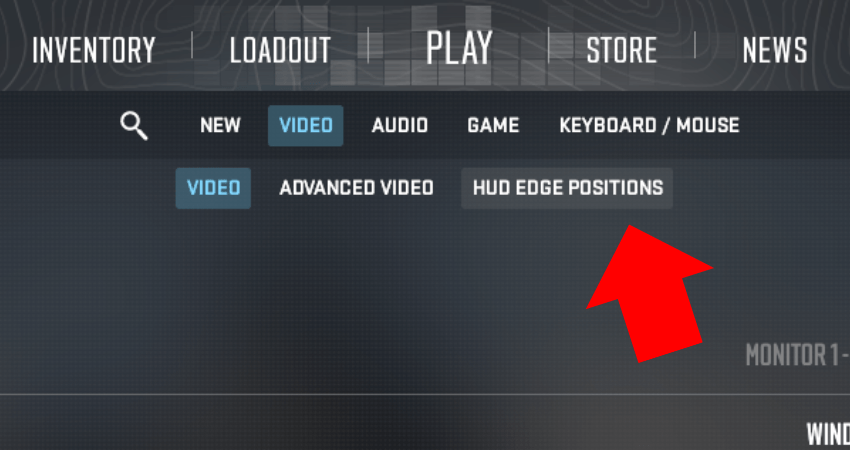
Step 7: Play around with the Horizontal and Vertical Adjustment sliders until you have your desired setting, and click the “DONE” button.

[RELEVANT: How To Get Better in CS2?]
Conclusion
Now you know all about the basic HUD settings available in CS2. Before you start messing around with the settings, it’s better to hop in a PRACTICE match with the unlimited warmup option turned on so you can visually test each setting as you change it.


The HUD options in CS2 are buried so deep. Thanks for pointing in the right direction before I lost my mind in settings.