
Besides weapon skins, gloves, and agent skins, CS2 lets you add a personal touch with Graffiti. This feature allows you to leave marks on floors or walls during a match, adding a unique style to your gameplay. Here’s a quick guide on how to paint graffiti in CS2.
Painting Graffiti in CS2
To paint graffiti in CS2, start by equipping it from your inventory. Once equipped, you can apply it during a match by using the “T” key on walls or floors. For clear steps, follow the guide below to make sure everything is set up correctly:
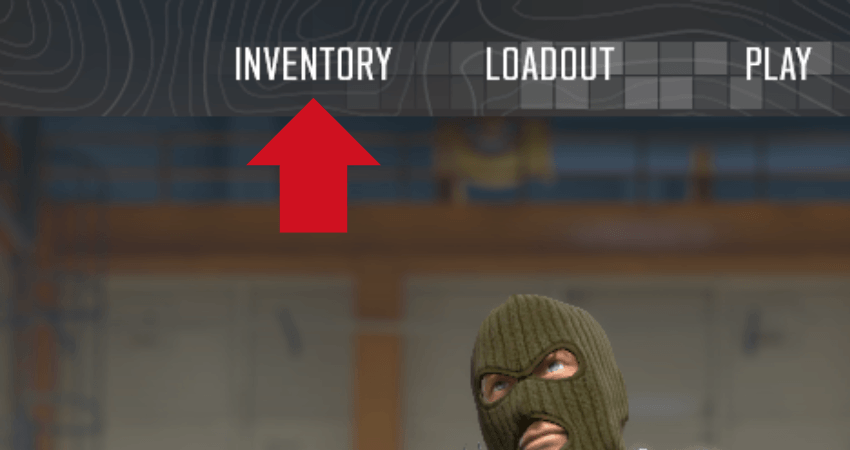
- Step 1: Launch CS2 and click on the “INVENTORY” option at the top of the home screen.
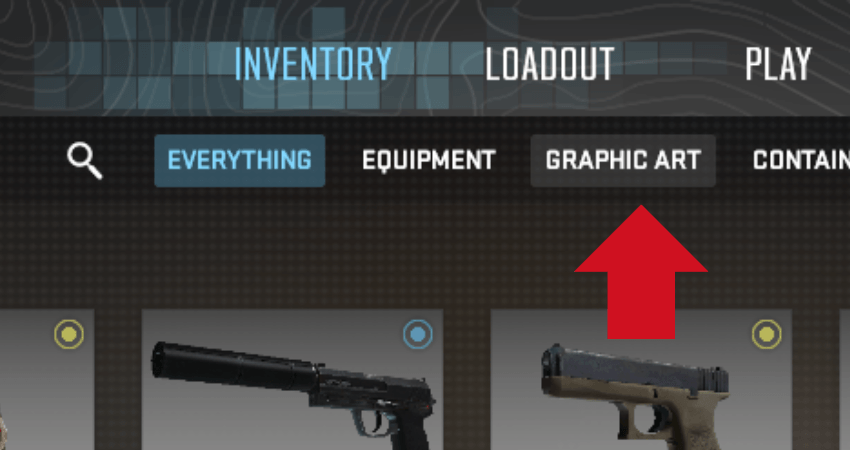
- Step 2: Select the “GRAPHIC ART” filter to view all available graffiti in your inventory.
- Step 3: Choose the graffiti you want to use from your available options.
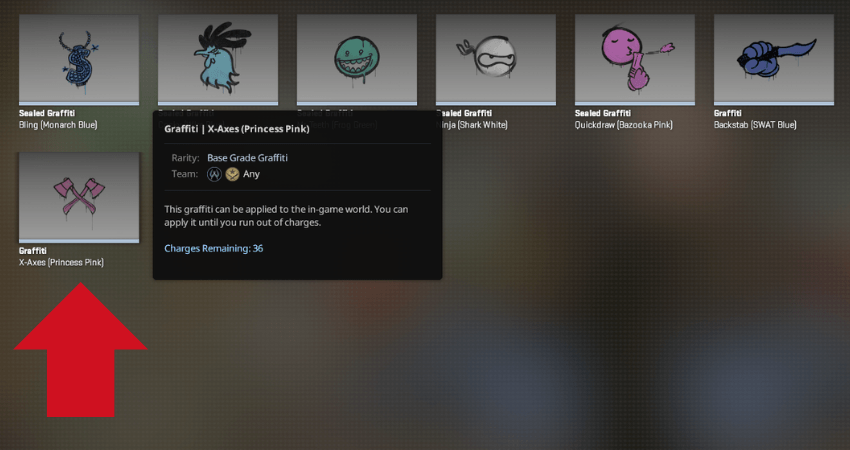
- Step 4: Right-click the selected graffiti to open a popup.
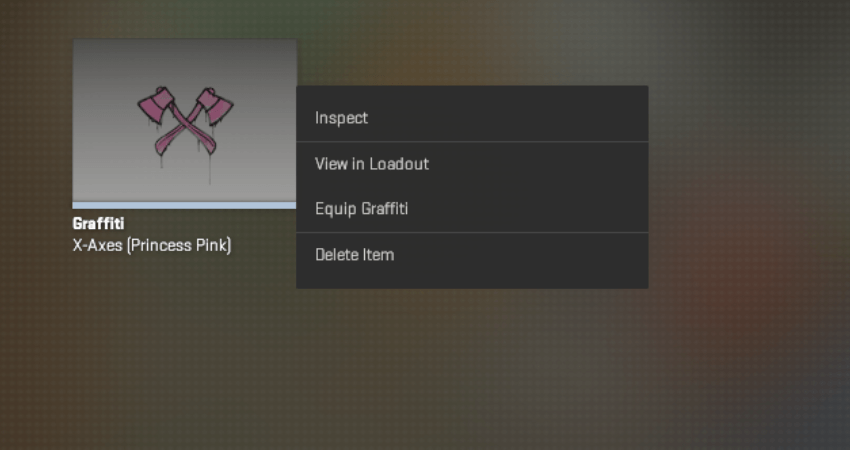
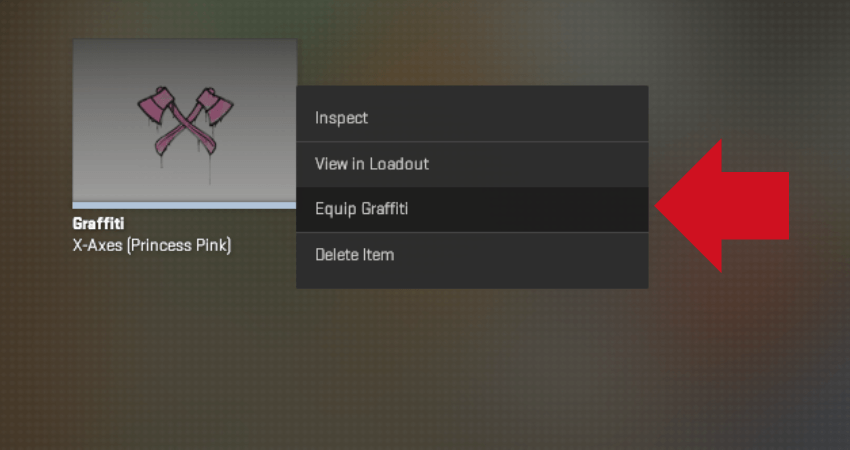
- Step 5: Click on the “Equip Graffiti” option to add it to your loadout.
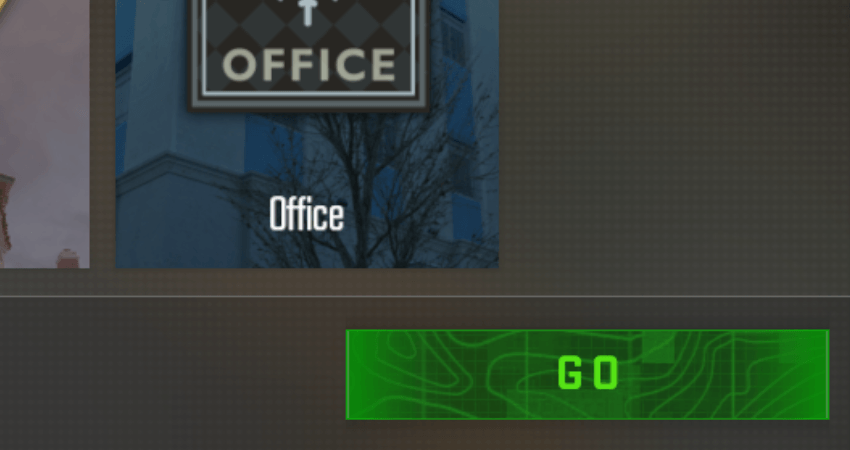
- Step 6: Enter a CS2 match.
- Step 7: Approach a wall or floor, aim where you want to apply the graffiti.
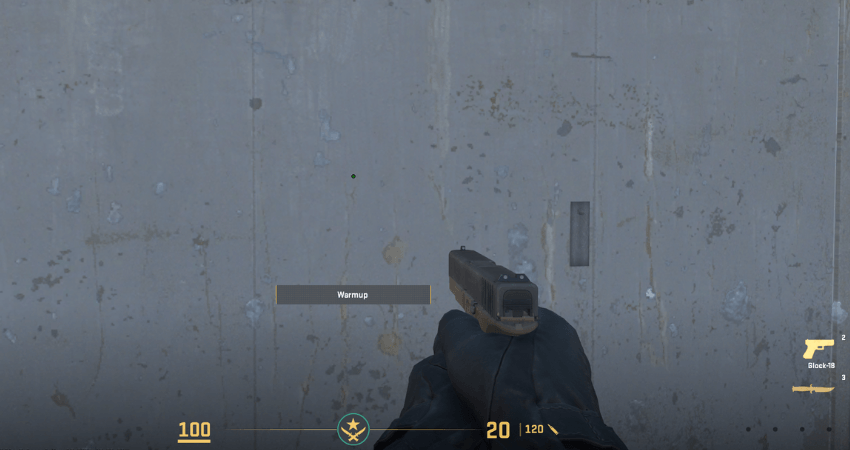
- Step 8: Press and hold the “T” key to prepare to apply the graffiti.
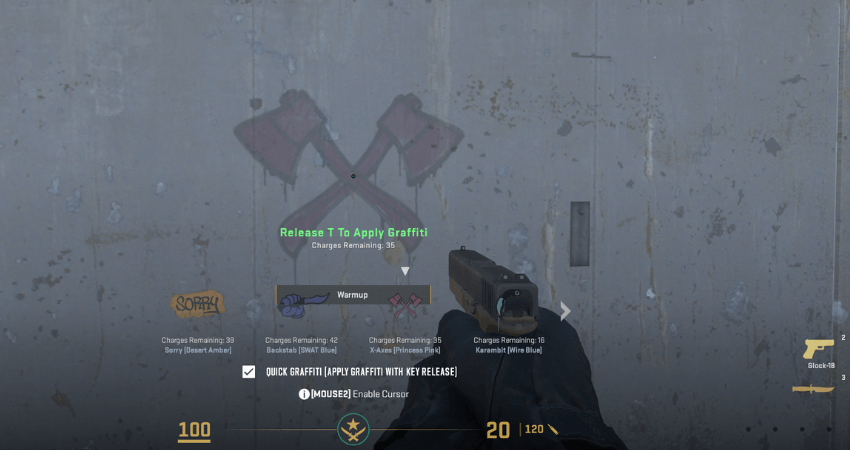
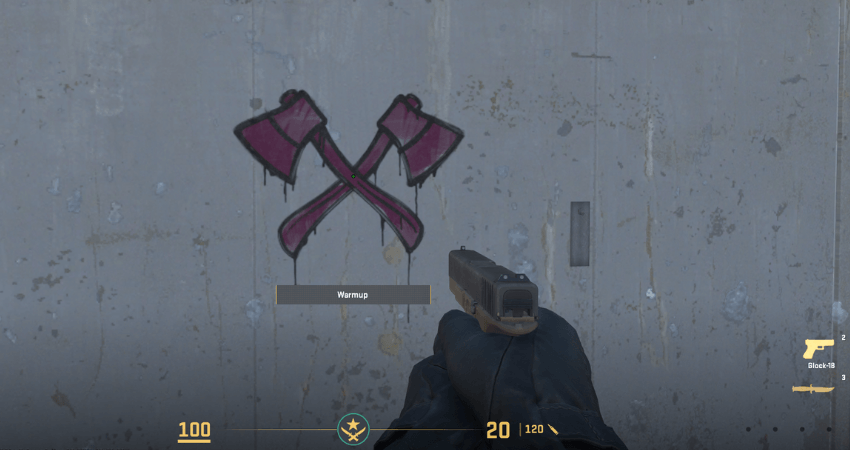
- Step 9: Release the “T” key to paint the graffiti on your chosen surface.
[RELEVANT: How To Get Better in Counter-Strike 2]
Step-by-Step Video Tutorial
Conclusion
Using graffiti in CS2 adds a personal touch to your gameplay, letting you leave your mark on the map. Now that you know how to equip and apply graffiti, you’re ready to use it in your matches. Just follow the steps above carefully to ensure everything works smoothly. Enjoy adding style to your game!


