Many CS2 players tweak their settings for better gameplay, and one popular adjustment is switching to a 4:3 stretched resolution. This setting makes character models appear wider, helping with visibility. If you’re interested in trying it, here’s a simple guide to set up 4:3 stretched resolution in CS2.
Playing CS2 in 4:3 Stretched Resolution
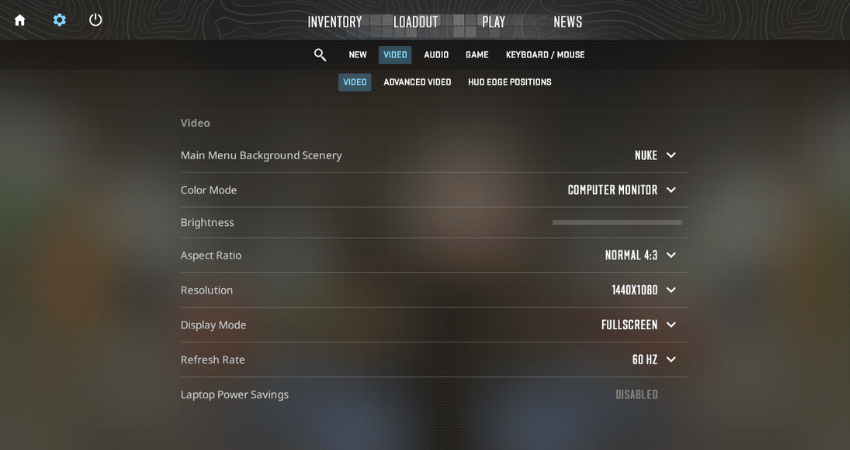
To play CS2 in 4:3 stretched resolution, you’ll need to adjust some settings in the game. Start by going to the video settings and setting the Aspect Ratio to 4:3. If you’re unable to select the Aspect Ratio, make sure the Display Mode is set to “Full Screen“. If this is still confusing, follow the steps below to make sure you set up 4:3 stretched resolution correctly:
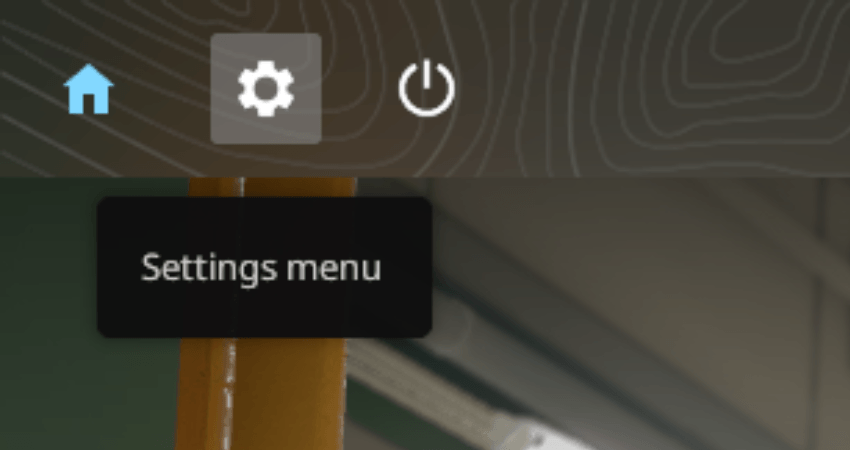
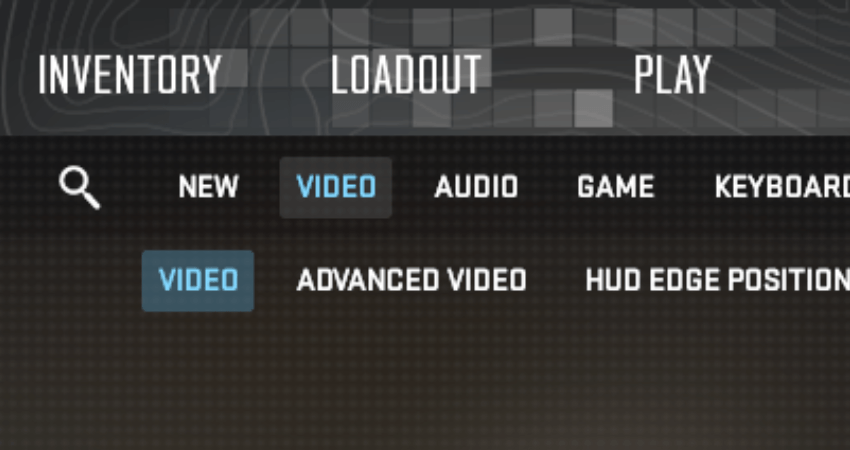
- Step 1: Click on the gear icon in the upper left corner of the CS2 home screen to open the Settings menu.
- Step 2: In the Settings menu, select the “Video” tab.
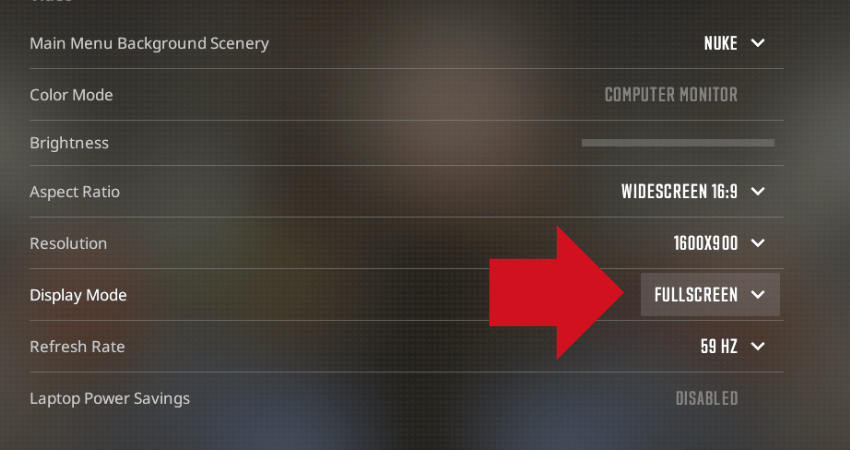
- Step 3: Find the “Display Mode” setting and set it to “Full Screen“. Without this, the Aspect Ratio option won’t be available.
- Step 4: Click the arrow next to the “Aspect Ratio” setting to open the list of options.
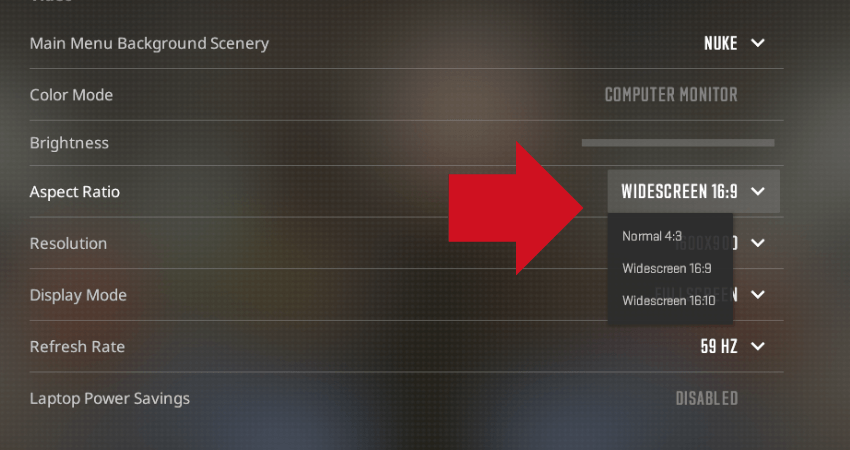
- Step 5: Choose “4:3” from the list.
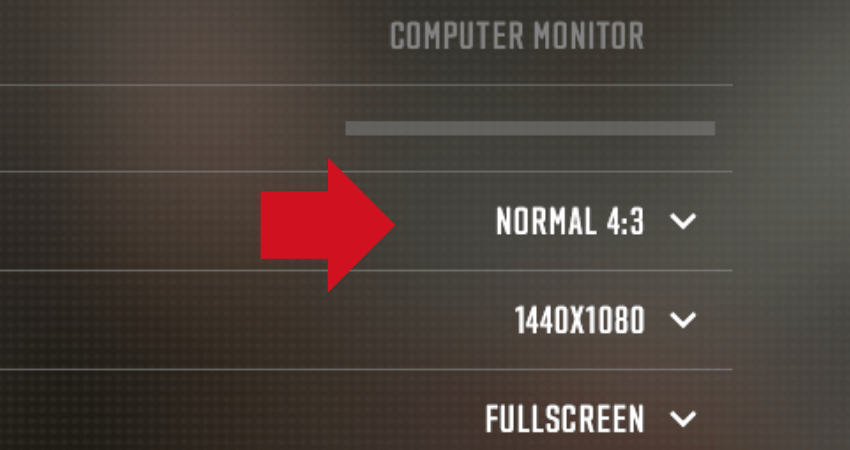
- Step 6: Click on “Apply Changes” at the bottom right corner of the screen.

- Step 7: After applying the changes, CS2 will now run in 4:3 stretched resolution.
If you don’t see black bars on the left and right of the screen, you can continue playing as usual. If you do see black bars or graphics look weird, you’ll need to adjust a few settings from your graphics card software.
For NVIDIA Users
1. Open the NVIDIA Control Panel.
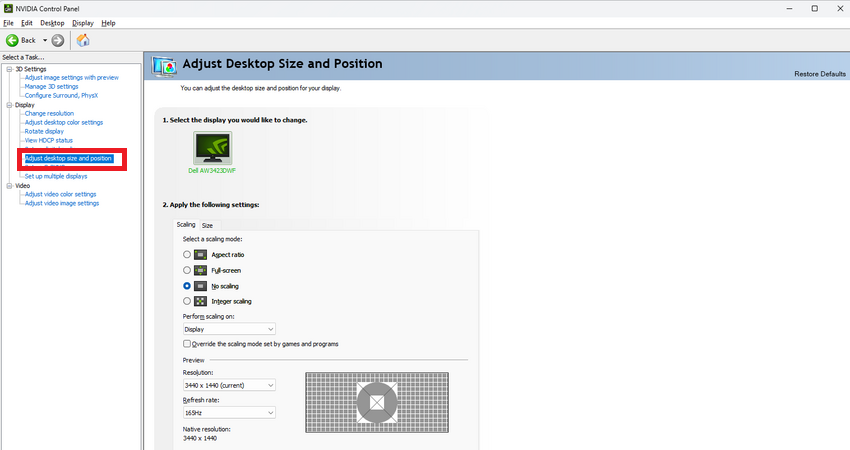
2. Go to Display and click on Adjust Desktop Size and Position.
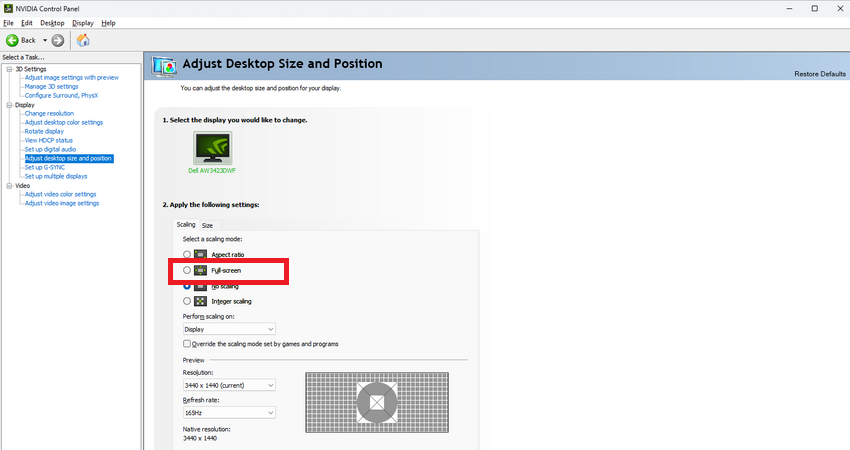
3. In Scaling Mode, select Full-screen.
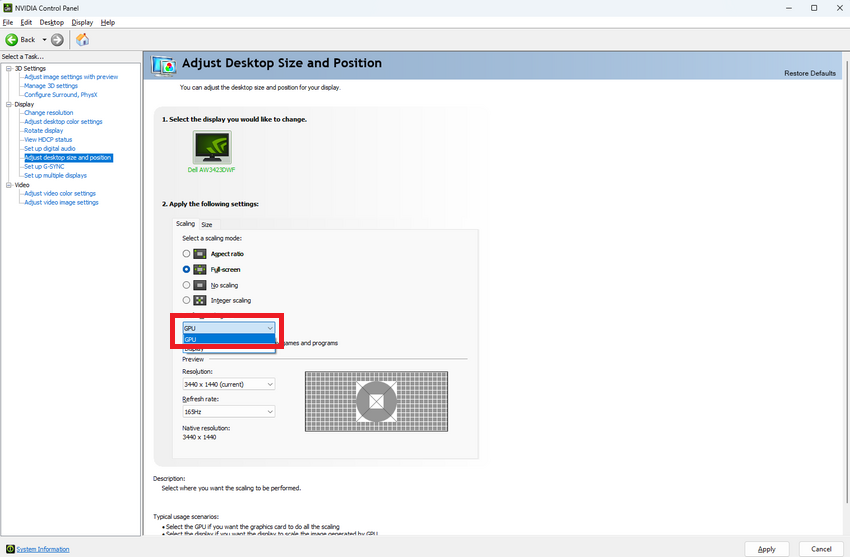
4. Set Perform scaling on to GPU.
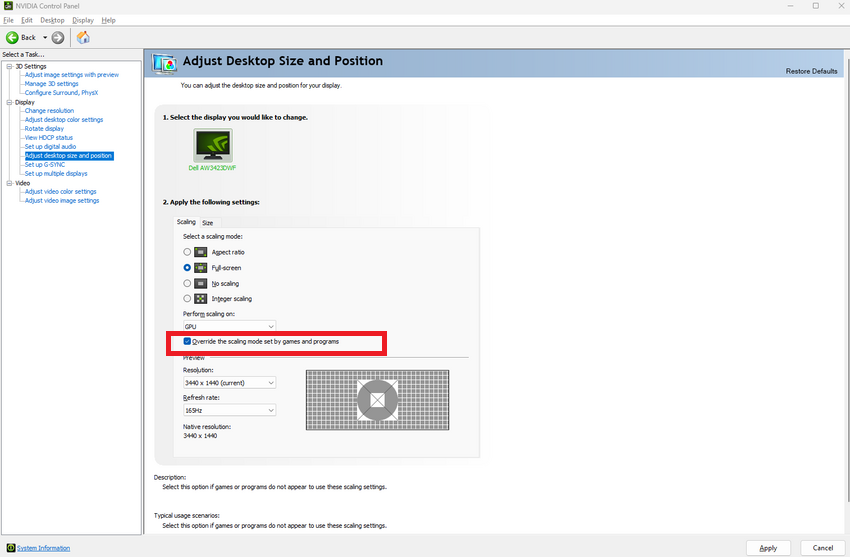
5. Enable Override the scaling mode set by games and programs, then click Apply.

6. Select the same resolution in your NVIDIA settings that you applied in CS2 (e.g., 1280×960 for 4:3 aspect ratio). This will make sure the stretched resolution works properly without any issues.
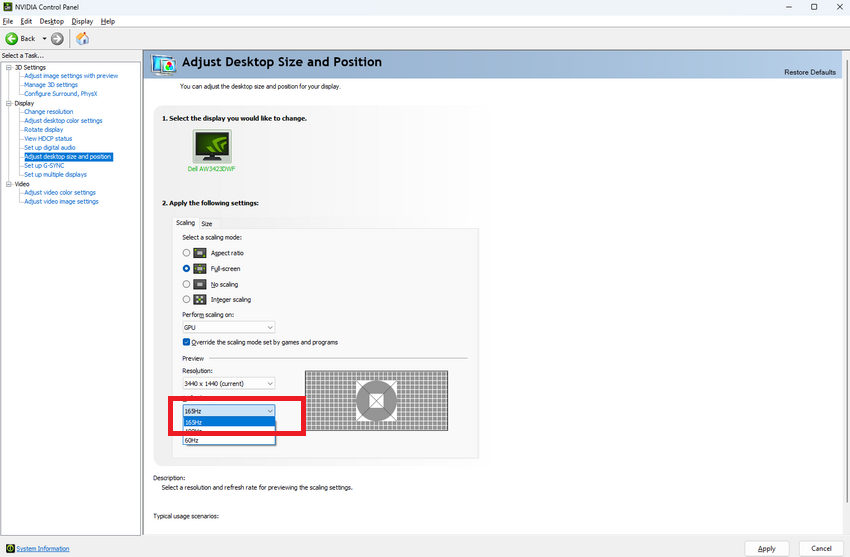
7. Set the monitor’s refresh rate in the NVIDIA Control Panel to match the one you selected in CS2 (e.g., 144Hz, 240Hz).
If you follow all these steps, CS2 will stretch any 4:3 aspect ratio resolution to fit your screen, providing the stretched resolution experience across your entire display.
For AMD Radeon Users:
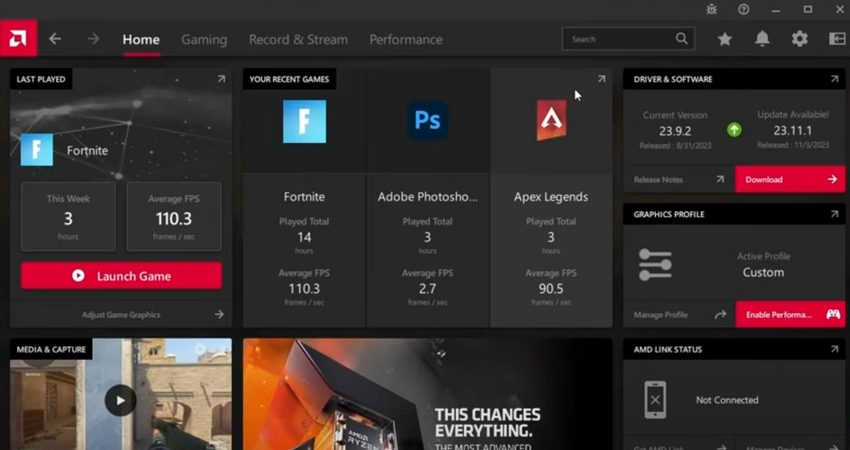
1. Open AMD Radeon Software.
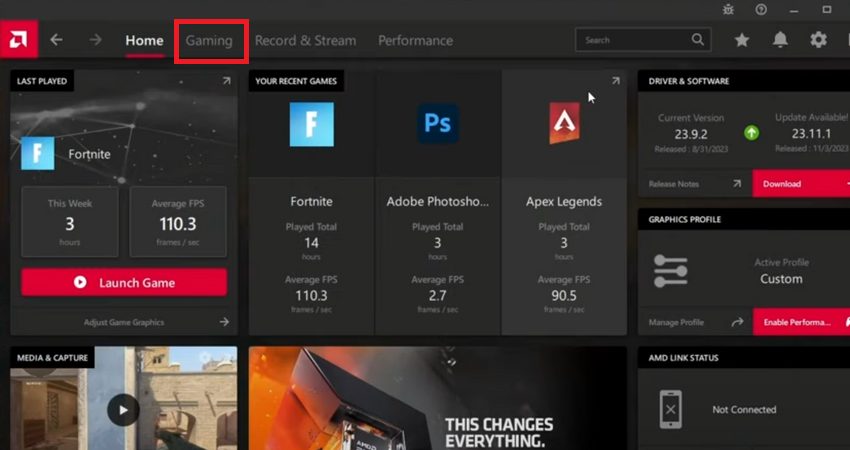
2. Go to the Gaming tab.
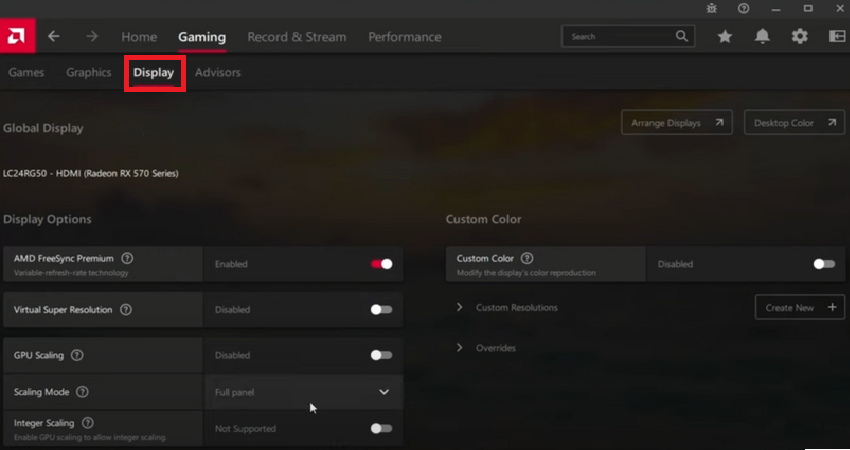
3. Go to the Display tab.
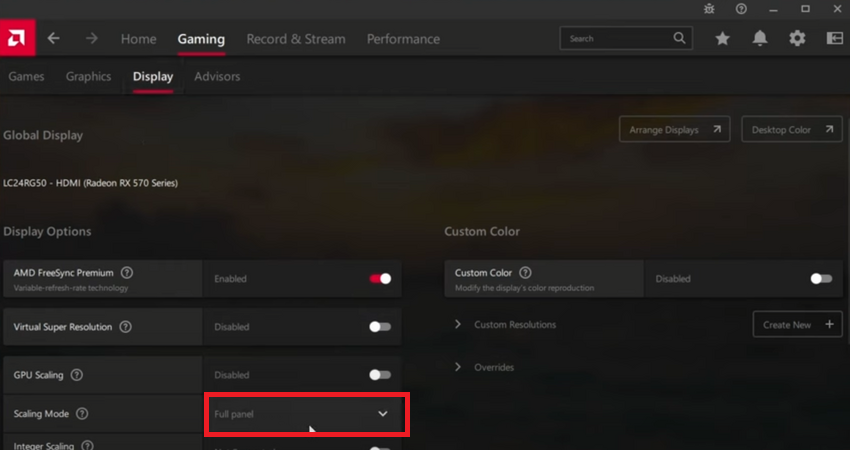
4. Set Scaling Mode to Full Panel.

5. Under Custom Resolutions and create your custom resolution.
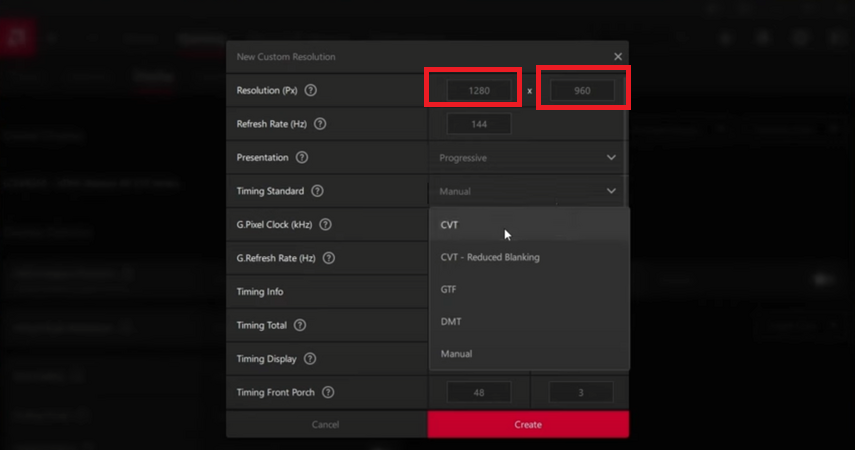
6. Select the same resolution in your AMD settings that you applied in CS2 (e.g., 1280×960 for 4:3 aspect ratio). This will match the custom resolution you’ve created in AMD Radeon Software with the one you’ve chosen in CS2, maintaining consistency in the stretched resolution across both systems.
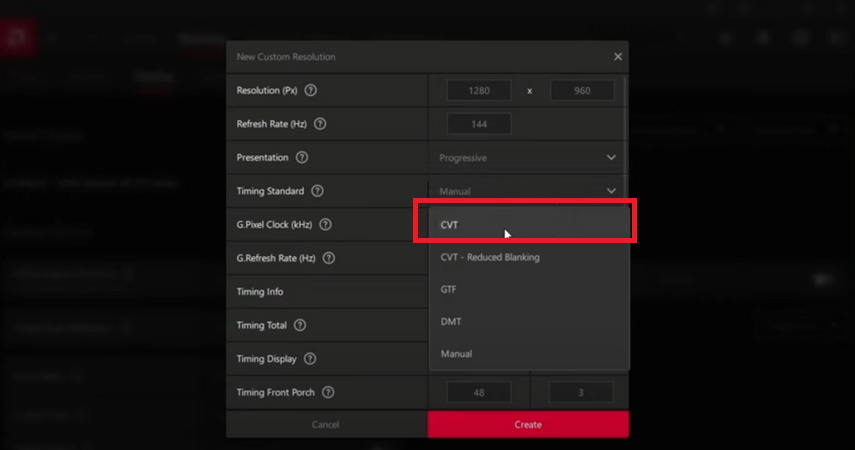
7. Set Timing Standard to CVT.
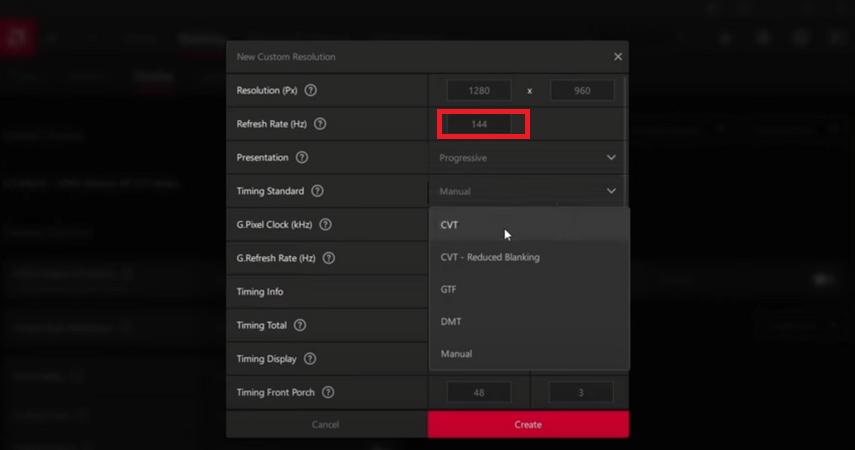
8. Set the refresh rate to the maximum supported by your monitor (e.g., 144Hz, 240Hz) to match the refresh rate you configured in CS2 for optimal performance.
Setting Scaling Mode to Full Panel will stretch the 4:3 resolution to fill your screen entirely without any black bars.
[RELEVANT: Which is Better 16:9 or 4:3 Apsect Ratio in CS2?]
Step-by-Step Video Tutorial
Conclusion
Switching to a 4:3 stretched resolution offers benefits like a smoother framerate and larger, easier-to-hit targets. Now that you know how to set it up, try it out in CS2 and see if it improves your gameplay experience.