Your spawn on T side sets the tempo for the round. On Dust 2, each spawn gives different timing advantages- whether you’re rushing B, taking Long, or fighting for Mid. Knowing how to read your spawn and act on it instantly is a simple but powerful way to get the upper hand. In this short lesson, we’ll walk through how to recognize strong spawns and use them to lead or support the round plan.
Using T Spawn on Dust 2 the Right Way

The front-right spawns are ideal for rushing B. You can reach the tunnel entrance before most CTs get in position to contest. This opens up chances for fast executes or simple control without using too much utility. On the flip side, those spawns aren’t great for contesting A Long- you’ll be late and exposed.
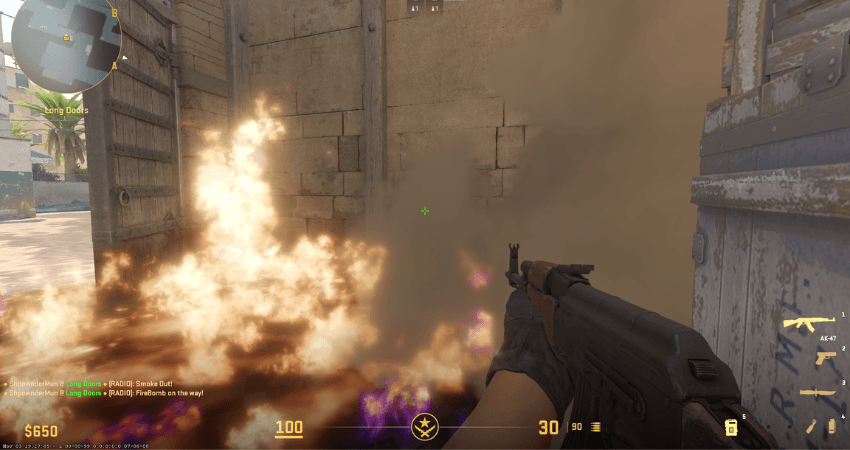
If you spawn close to A Long, you should be leading the charge there. You’ll have the best timing to reach the corner or start throwing nades. Recognizing this and calling it early helps the team adjust. When multiple players have good Long spawns, it’s often a green light to take control.
Mid control is all about who gets to Top Mid and XBox first. Central spawns are the most balanced, letting you flex into B, A Long, or Mid. The key is making fast decisions. Dust 2 is all about timing- and if you hesitate or take the wrong path for your spawn, you lose the edge.
Conclusion
Start paying attention to your spawn and act with purpose. The best IGLs and entry fraggers use spawns to their advantage, not just as random starting points. Watch the video, recognize patterns, and practice reacting fast- it adds up quickly.


Nice lesson, especially liked the short control molie. Simple but super effective.