

One of the best features of CS2 is the ability to customize settings like video options and keybinds to fit your preferences. You can even copy another player’s settings by simply replacing a single folder. Here’s a quick guide on how to add a CS2 config.
Adding a CS2 Config
To add a CS2 config, locate your trade URL in Steam and find the matching folder in your Steam files. Then, replace your current config with the new one in the “cfg” folder. This process may seem confusing, but it’s pretty easy when broken down. For a clear setup, follow the steps below to make sure you add the CS2 config correctly:
- Step 1: Open Steam, hover over your Steam ID, and click “Profile“.

- Step 2: Select “Inventory“.
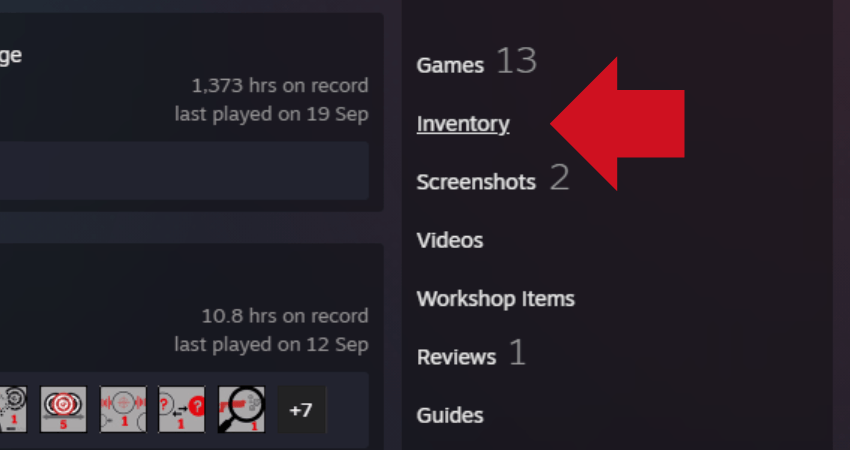
- Step 3: Click on “Trade Offers“.
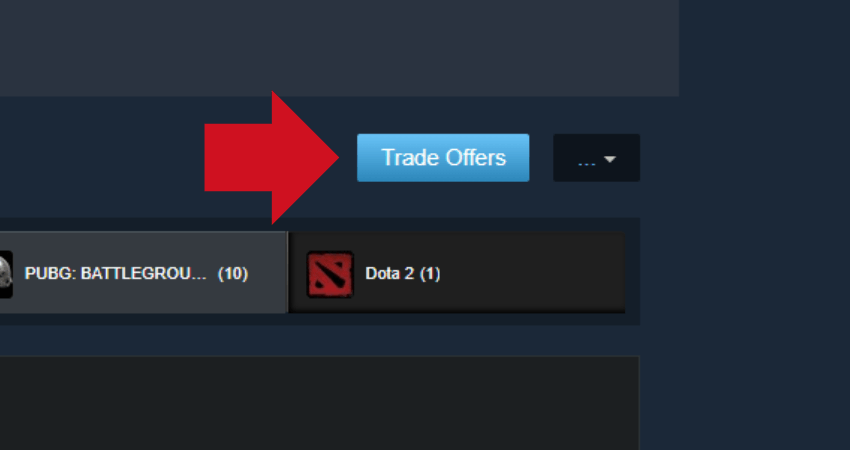
- Step 4: Choose “Who can send me Trade Offers?“.

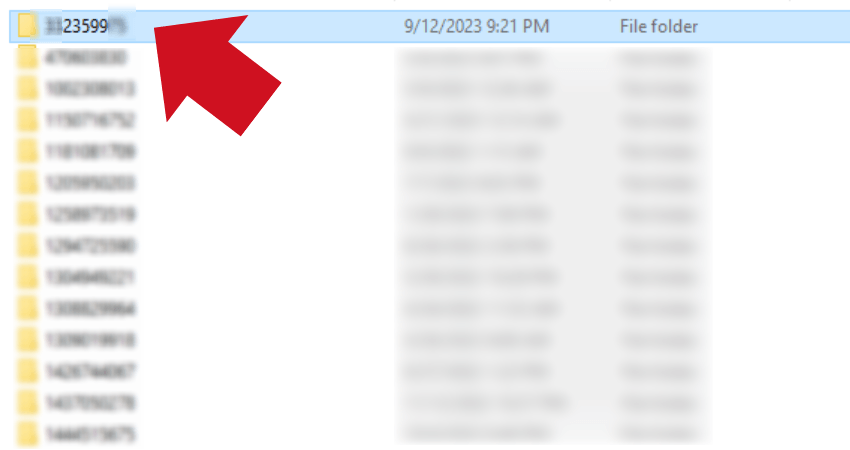
- Step 5: Copy the stream of numbers from your Trade URL (e.g., 23599).

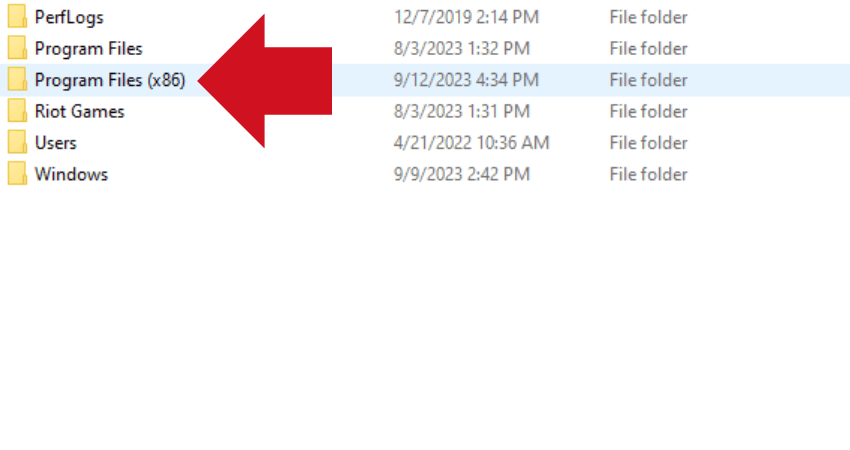
- Step 6: Go to “Program Files (x86).”
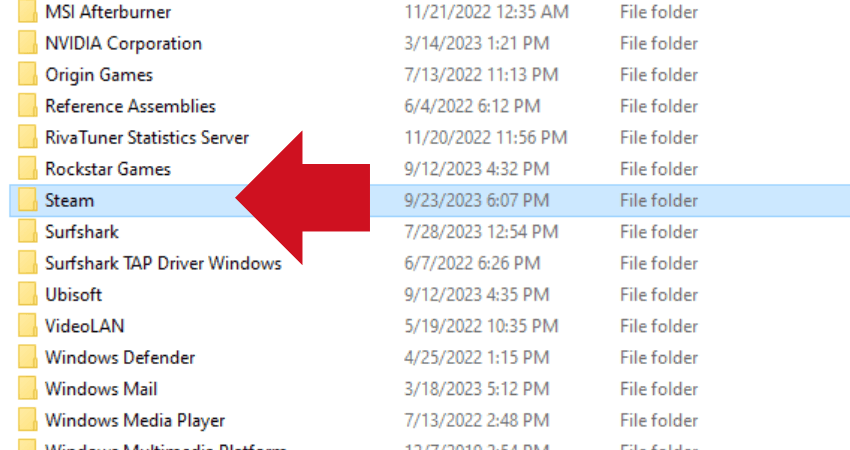
- Step 7: Go to “Steam“.
- Step 8: Go to “userdata“.
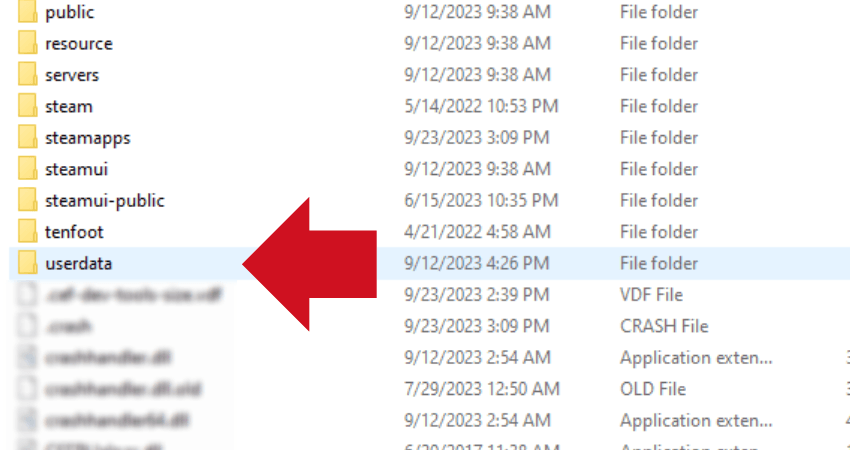
- Step 9: Inside “userdata”, open the folder with the matching numbers from your Trade URL.
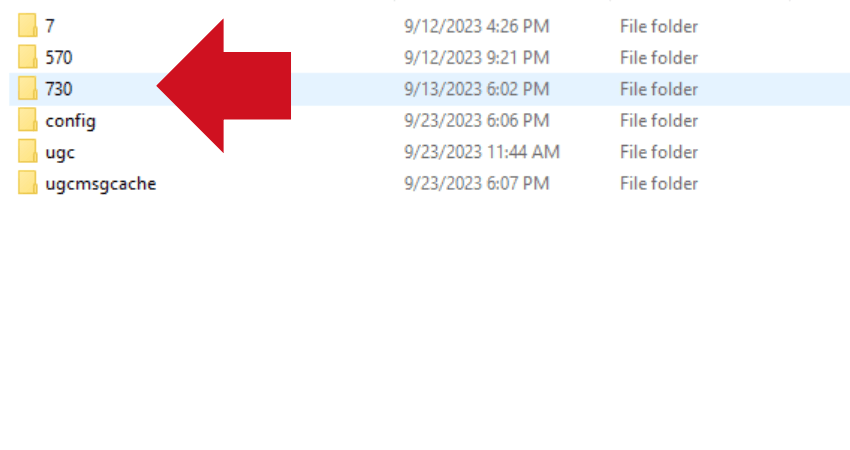
- Step 10: Open the “730” folder.
- Step 11: Go to “local“.
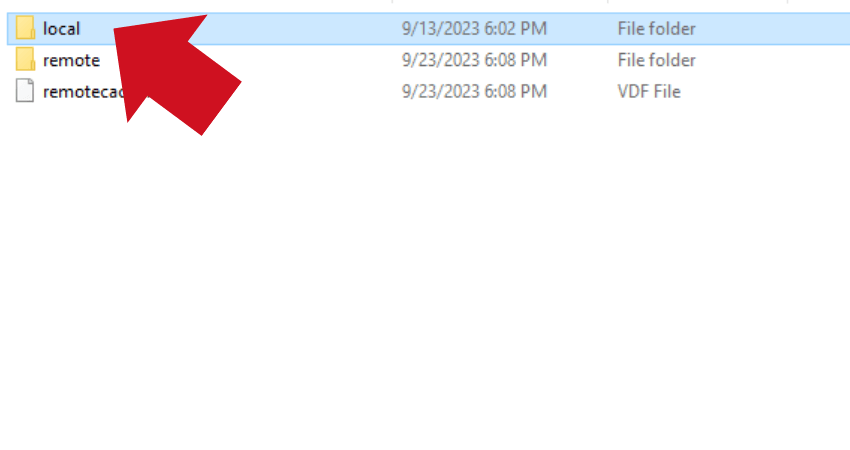
- Step 12: Inside “local,” find the “cfg” folder, which contains your CS2 config.
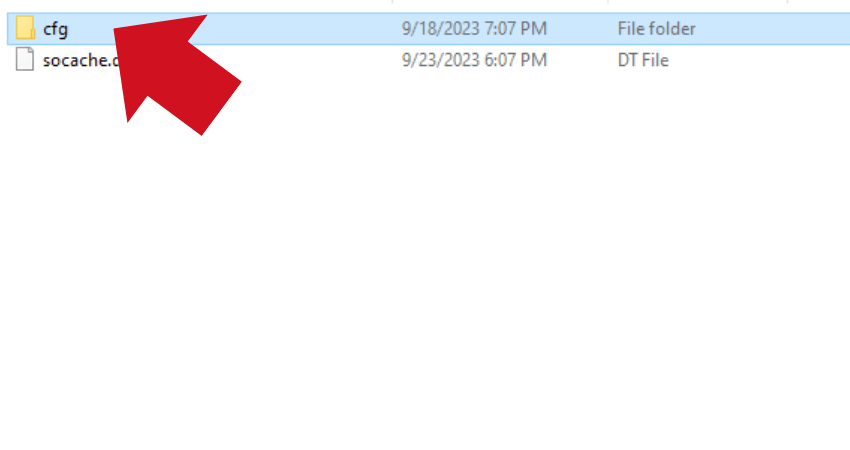
- Step 13: To add a new config, copy a “cfg” folder from another source, paste it into “local,” and replace the existing “cfg” folder.
[RELEVANT: Best CS2 Video Settings for Max FPS]
Step-by-Step Video Tutorial
Conclusion
Adding a CS2 config is a quick way to copy the settings of a pro player. To avoid any issues, follow the steps carefully and make sure to create a backup of your original “cfg” folder before replacing it.


