
Clarity is a huge factor in CS2 gameplay, and brightness plays a huge role in improving that, especially in darker areas of the map where spotting enemies can become difficult. To help you optimize the brightness for your preference, here’s a complete guide on how to adjust brightness in CS2.
Adjusting Brightness in CS2
To adjust the brightness in CS2, start by launching the game and clicking on the gear icon in the upper left corner of the screen to open the settings menu. After that, go to the Video section, and once again the Video section, and then play around with the “Brightness” slider to adjust the game’s brightness. If things still seem confusing, follow the step-by-step instructions below.
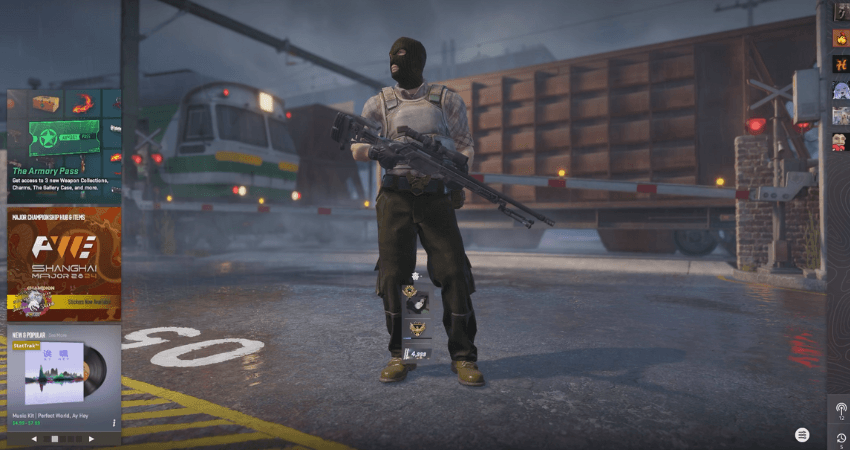
Step 1: Launch CS2 and go to the home screen.
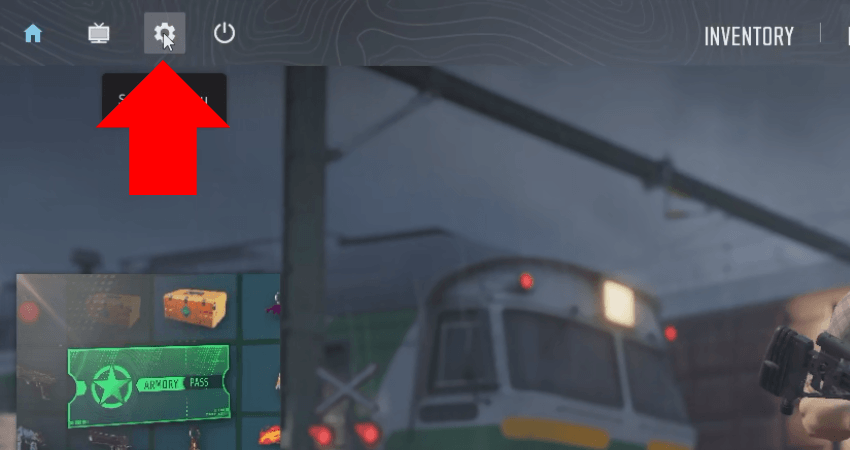
Step 2: Click the gear icon in the upper left section of the screen to open the CS2 settings menu.
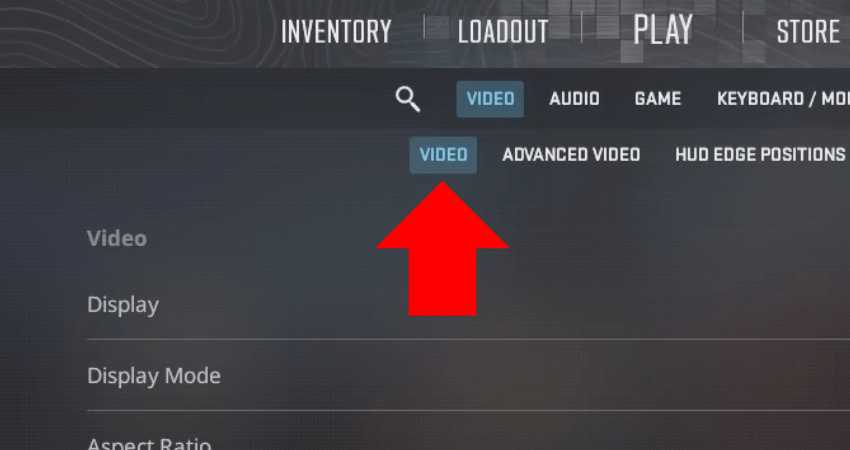
Step 3: Go to the Video and again to the Video section.
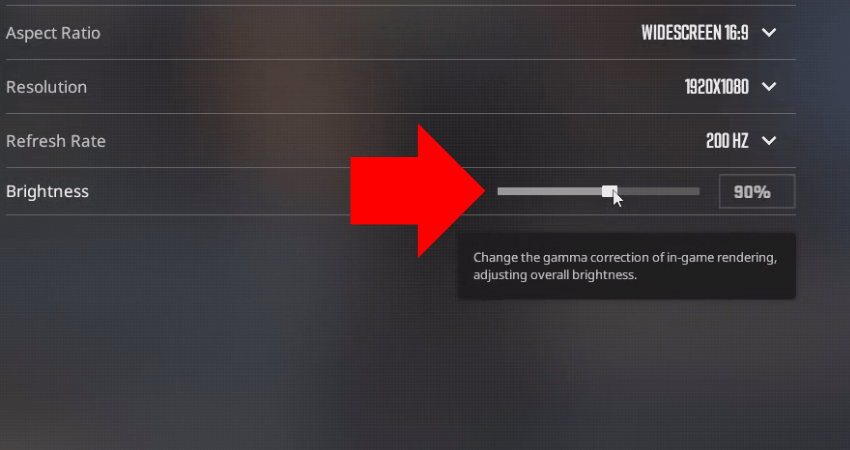
Step 4: Move the “Brightness” slider to adjust the game’s brightness. To revert the brightness to its default level, click the “RESET DEFAULTS” option in the bottom-right section of the screen.
[RELEVANT: How To Get Better in CS2?]
Summary
| Step | What To Do |
|---|---|
| 🎮 Open Settings | Click the gear icon on the home screen to access settings. |
| 🎥 Video Tab | Go to Video → Video again inside the menu tabs. |
| 🌞 Adjust Slider | Move the Brightness slider to find your preferred setting. |
| ♻️ Reset Defaults | Click “RESET DEFAULTS” to return to original brightness. |
Step-by-Step Video Tutorial
Conclusion
Adjusting the brightness is as simple as going into the settings menu and playing around with a brightness slider. You don’t have to enter fancy commands in the console or change the config file. However, bumping the brightness to extreme levels would negatively impact visibility and clarity, so keep that in mind while adjusting brightness in CS2.


Thanks, all clear now.