Controlling bots in CS2 is useful for practice and improving your skills. You can easily add bots, adjust their behavior, or even control a bot after dying. This guide explains exactly how to manage bots in CS2 practice matches.
How to Control Bots in CS2 (Practice Sessions)
Here’s what you’ll learn in this article:
- Adding bots to teams.
- Removing specific bots.
- Adjusting bot behavior.
- Taking control of bots after dying.
Follow these steps to manage bots effectively during your practice matches:
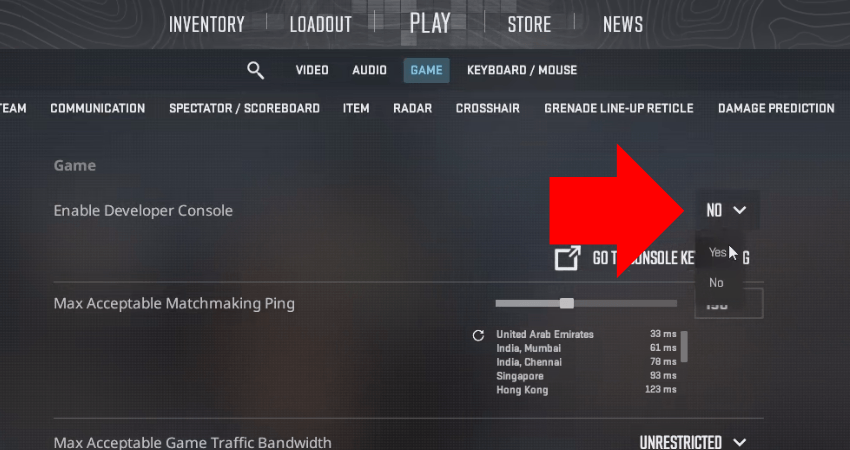
Step 1: Launch CS2 and enable the developer console from the settings menu.
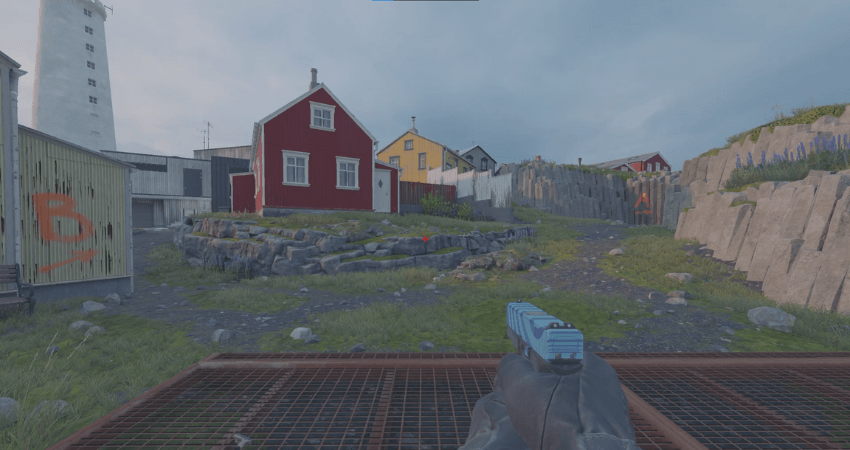
Step 2: Enter a private match.
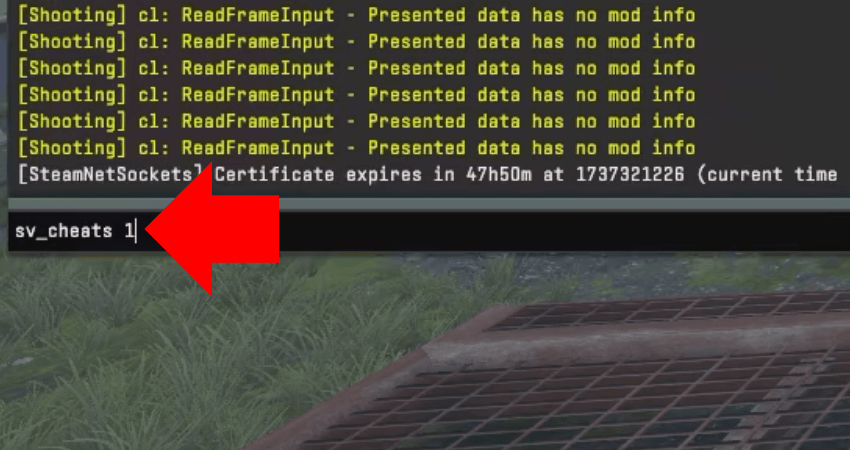
Step 3: Open the console and enter this command: sv_cheats 1.
Step 4: Open the console again and enter one of the following commands based on what you want the bots to do.
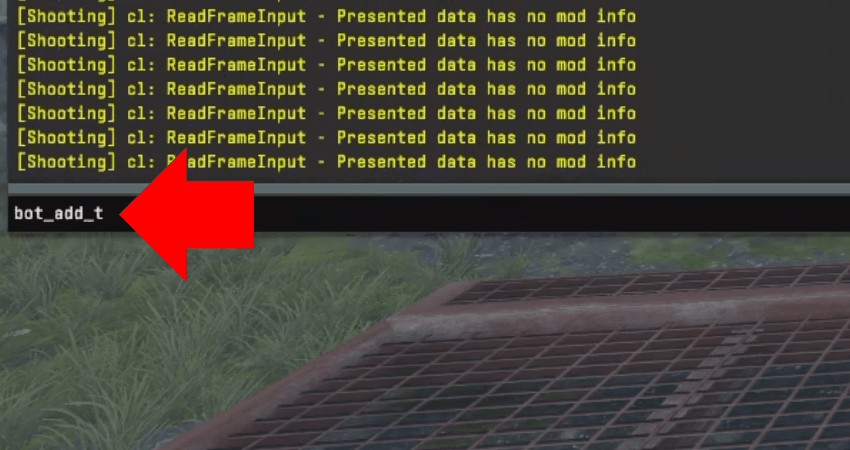
bot_add_t (adds a bot to the Terrorist team)
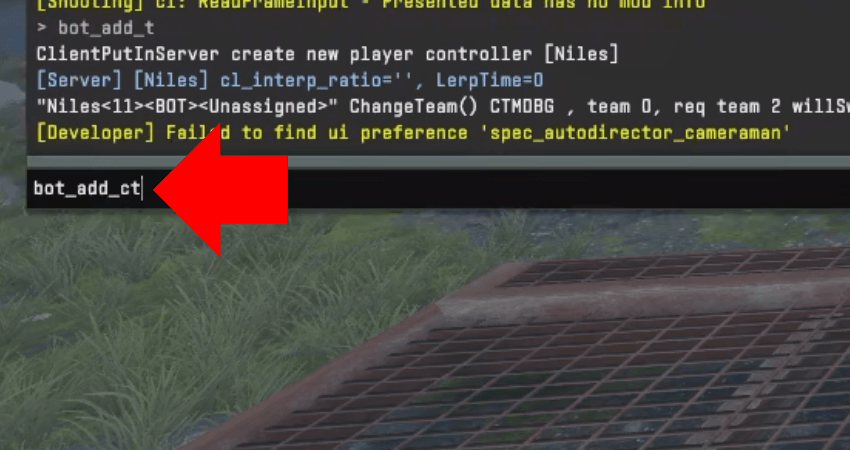
bot_add_ct (adds a bot to the Counter-Terrorist team)
bot_kick (removes all bots)
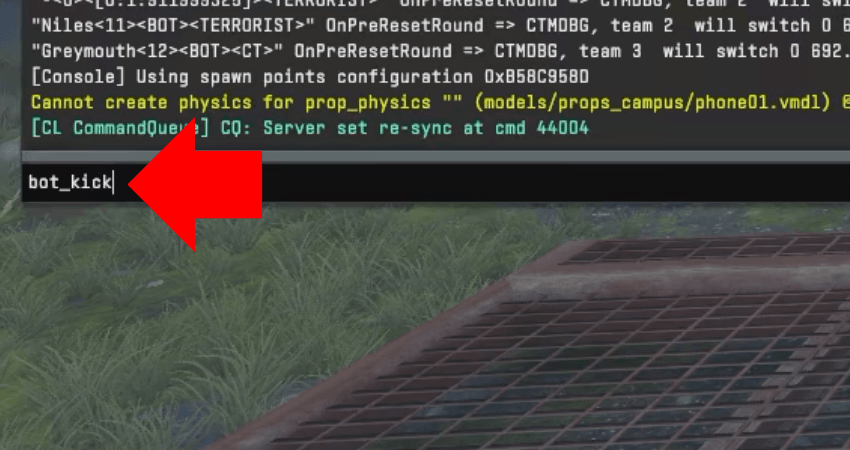
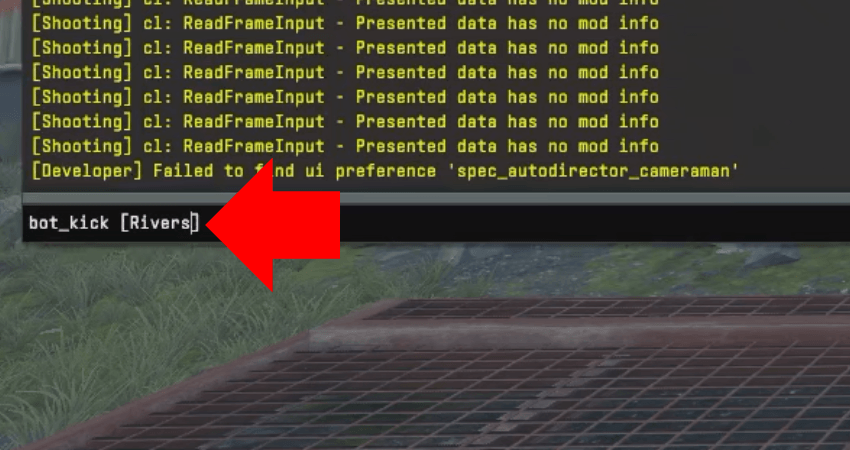
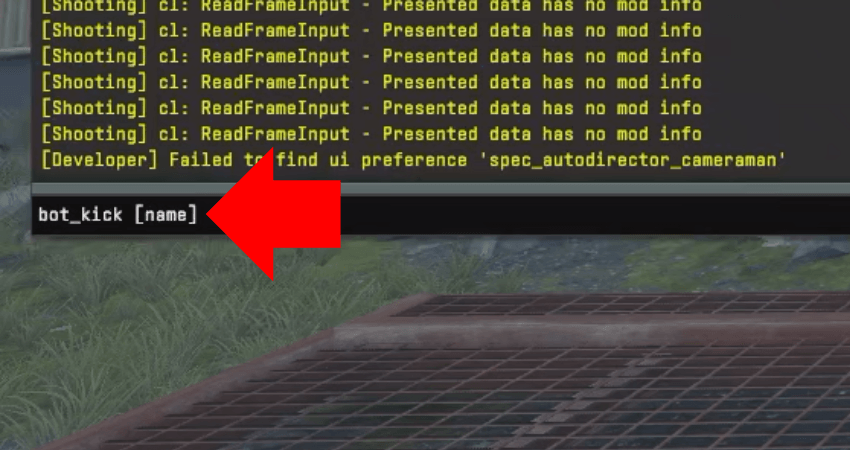
bot_kick [name] (removes a specific bot by name)
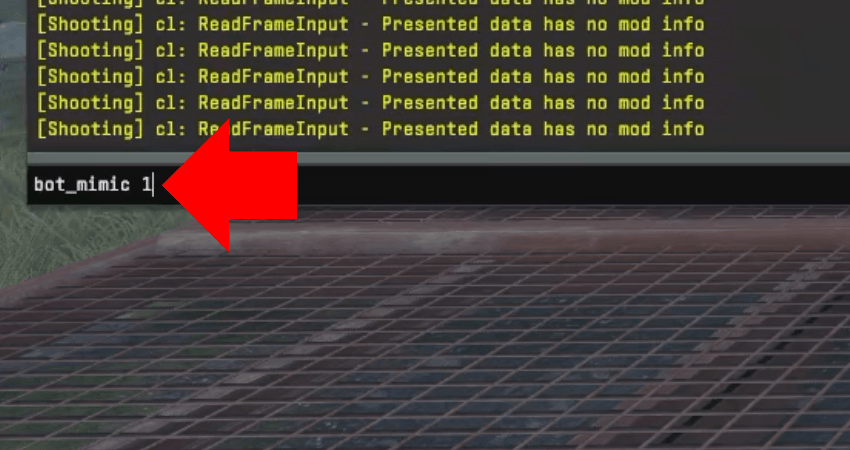
bot_mimic 1 (makes bots mimic your actions; set to 0 to disable)
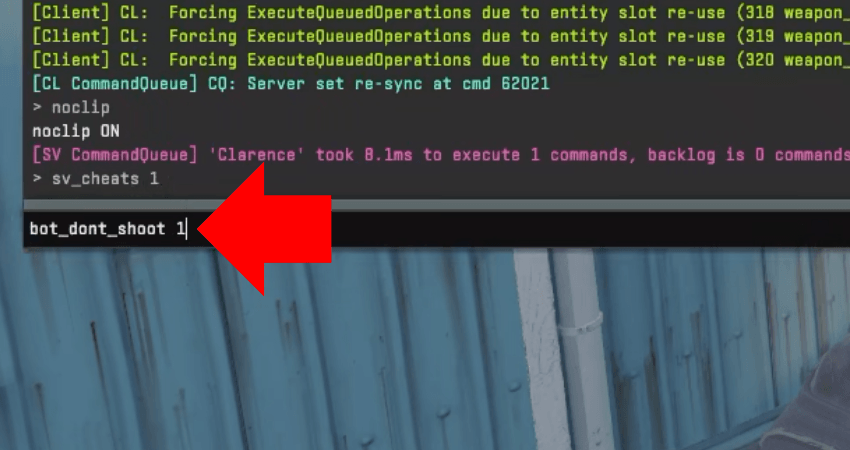
bot_dont_shoot 1 (prevents bots from firing)
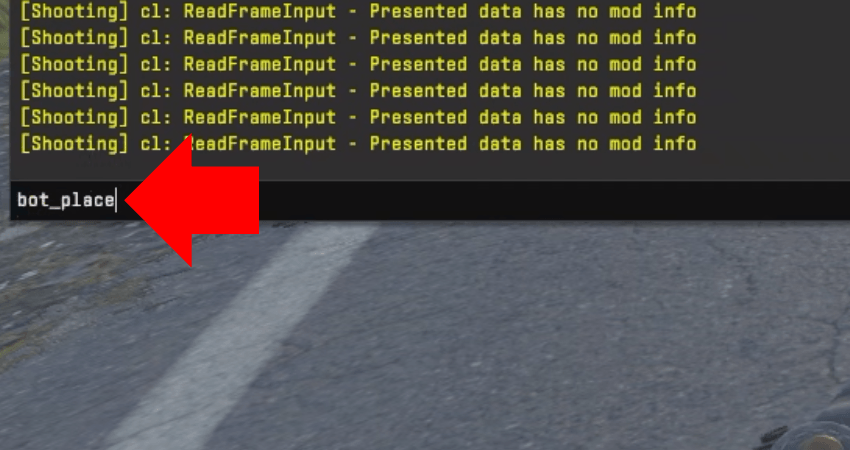
bot_place (places a bot in the position you’re aiming at)
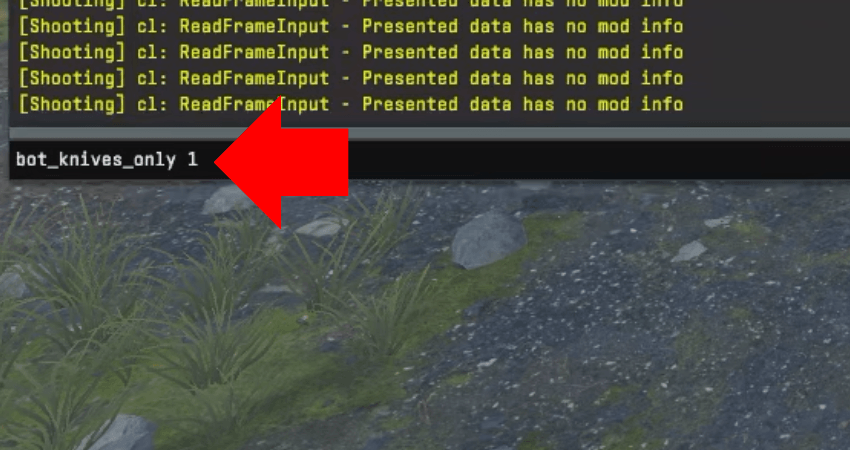
bot_knives_only 1 (forces bots to use only knives; set to 0 for default behavior)
bot_stop 1 (freezes all bots; set to 0 to unfreeze)

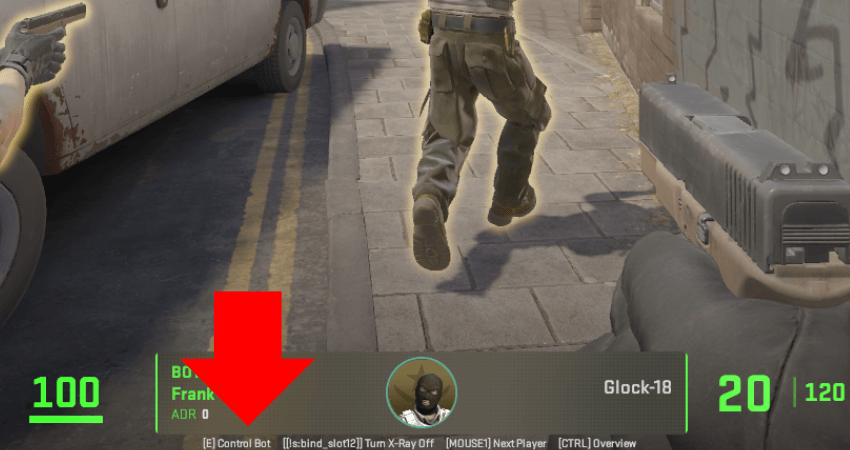
If you’re playing a match that includes bots- whether it’s a private practice or an official game- you can take control of a bot after dying. Just switch your view to a bot and press the “E” key. This lets you continue playing for the rest of the round. All kills will count toward the bot’s scoreboard, not yours, but it can still help you turn the round around. This is especially useful in official matches where bots are often easy to eliminate, giving you a better chance to recover the round after a teammate leaves.
[RELEVANT: How To Get Better in CS2?]
Step-by-Step Video Tutorial
Conclusion
Managing bots in CS2 practice matches is simple and effective. Try these commands to create useful practice scenarios and improve your gameplay quickly.

Didn’t know you could fully control bots like this in CS2. Taking over a bot mid-round is actually pretty fun in practice matches.