
CS2 has plenty of customization options beyond what’s available in the regular settings menu. To unlock those extra features, you’ll need to access the developer console. Here’s a complete guide on how to open the console in CS2 and start using advanced commands.
Opening Console on CS2
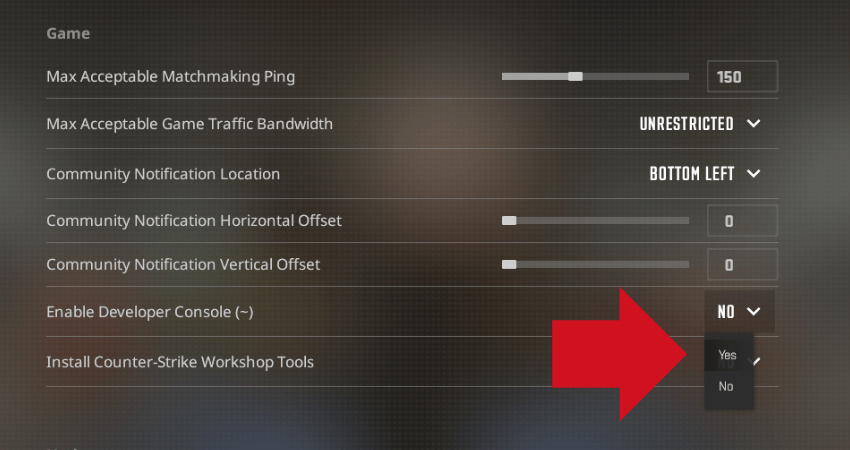
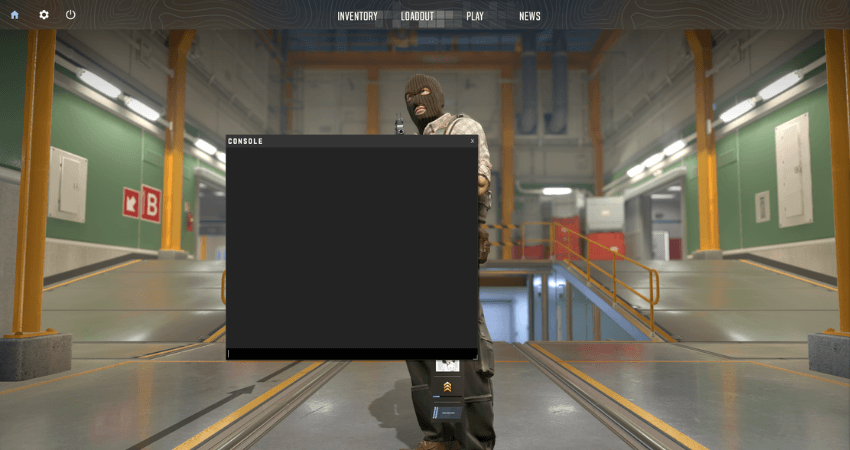
Before you can open the console in CS2, you’ll need to enable it through the game settings. To do this, go to the Settings menu and find the “Enable Developer Console (~)” option. Set it to “Yes.” After enabling it, you can use the default “~” key to open the console anytime. Follow these step-by-step instructions to make sure it’s set up correctly:
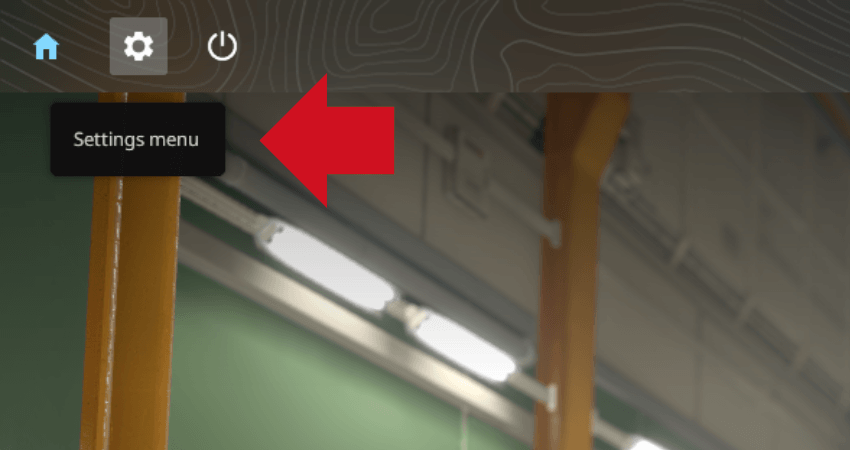
- Step 1: Launch CS2 and go to the Settings menu.
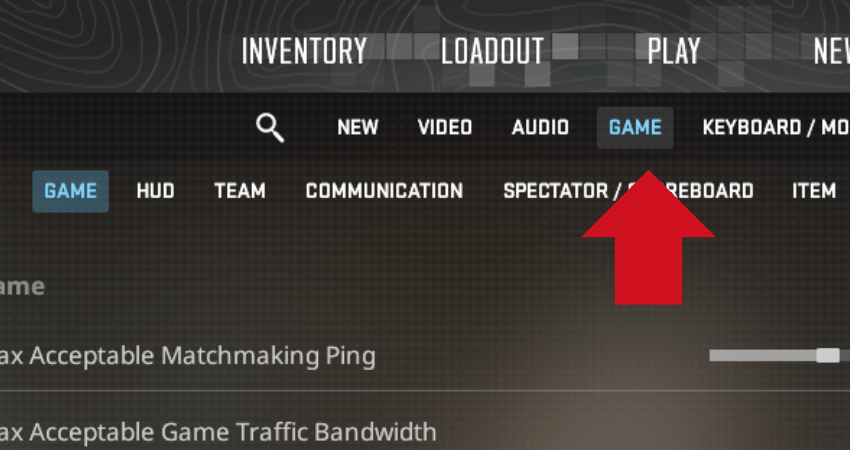
- Step 2: Click on the “GAME” tab.
- Step 3: Scroll down to find the “Enable Developer Console (~)” setting and switch it to “Yes.”
- Step 4: Go to the “KEYBOARD / MOUSE” tab.
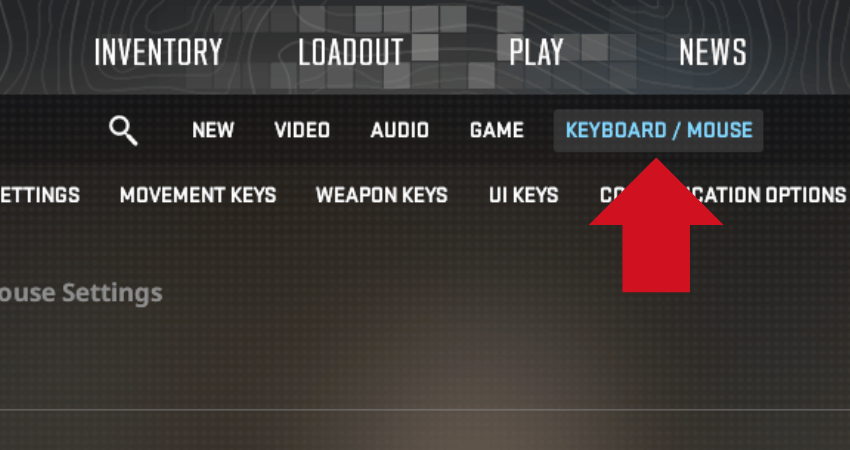
- Step 5: Click on the “UI KEYS” section under “KEYBOARD / MOUSE” settings.
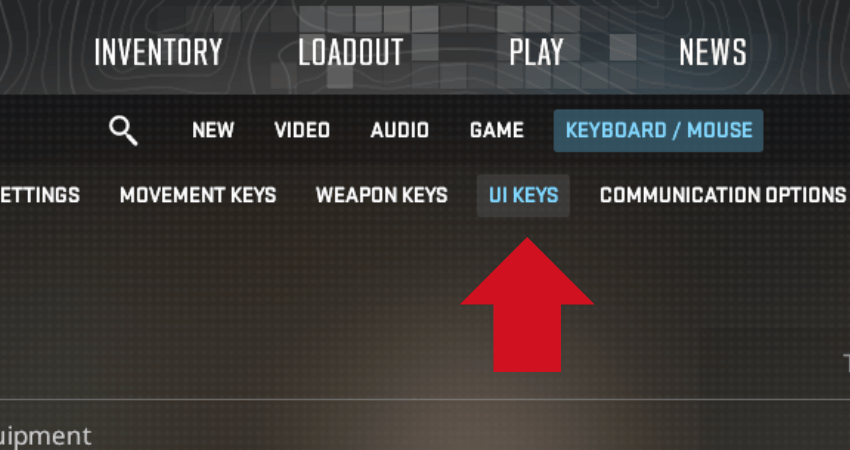
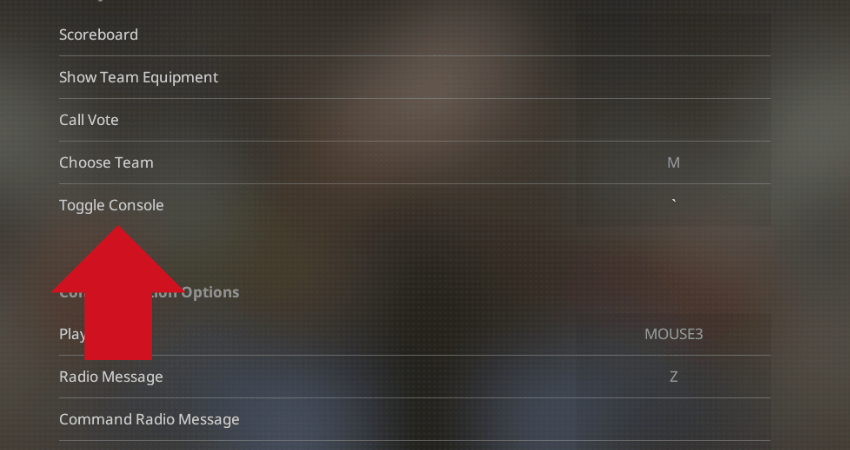
- Step 6: Look for the “Toggle Console” option and set it to your preferred key. By default, it’s set to the “~” or “`” key right under “Esc.” We recommend keeping it as is for easy access.
- Step 7: Return to the home screen or enter a match to test it out.
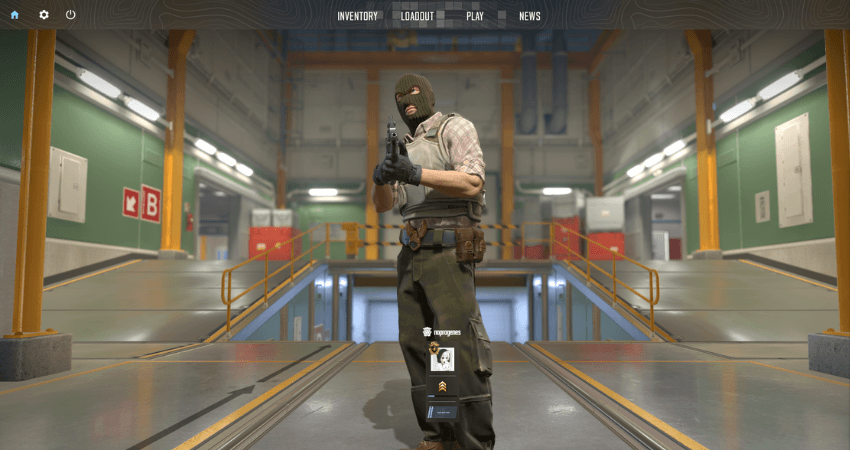
- Step 8: Press the “Toggle Console” key (default: “~”) and the developer console will appear on your screen
[RELEVANT: How To Get Better in CS2?]
Step-by-Step Video Tutorial
Conclusion
Follow the instructions above to enable and open the console in CS2. Just be cautious when entering commands, as using the wrong ones could cause unexpected issues.


