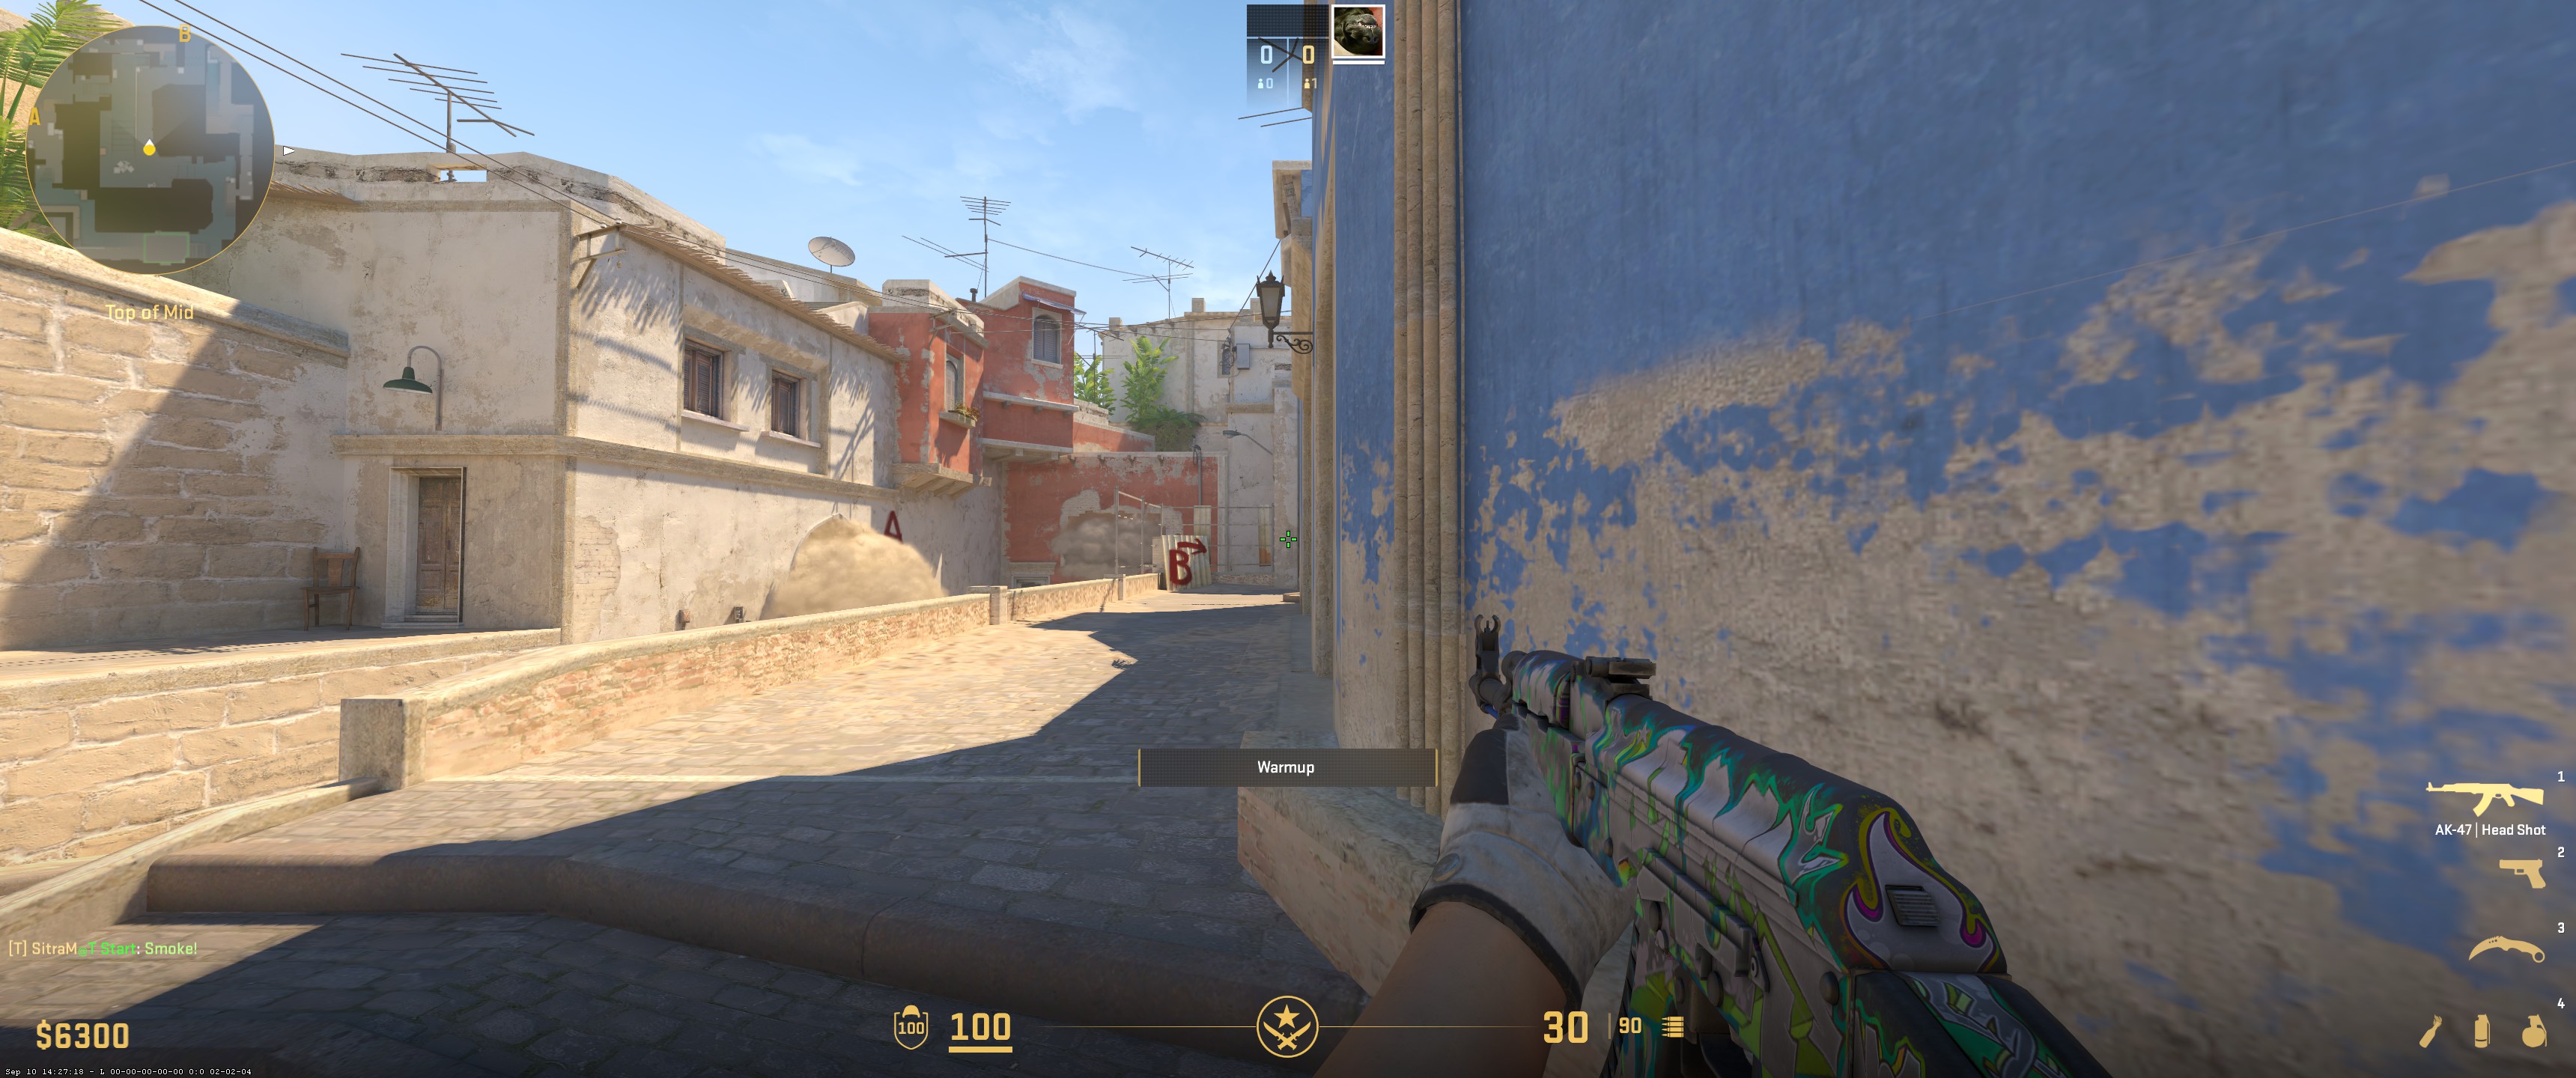
Mid to B is one of the most reliable plays for Ts on Mirage. With the right coordination, it can overwhelm defenders and secure a strong site take. This lesson explains how to structure the perfect mid to B execute.
Executing Mid to B on Mirage as T

The lesson highlights exact strategies that show how Ts can combine mid presence with a split into B. Timing matters- both groups need to commit together so defenders can’t focus on just one side.
Utility is essential to making the execute work. The lesson explains how smokes, flashes, and molotovs cut off key angles, reduce risk, and make it easier for Ts to enter the site as a group.
Once you’re in, trading and setup are everything. The lesson shows how coordinated positioning and communication secure the plant and make it harder for CTs to retake.
Conclusion
The perfect mid to B on Mirage depends on timing, utility, and teamwork. The lesson walks you through strategies that make this execute a strong option.


