CS2 comes with upgraded visuals, better mechanics, and more control over your game settings. One of the best ways to lock in your preferences is by using an autoexec file. It lets you save custom settings so you don’t have to re-enter commands every time you launch the game. Whether you’re tweaking crosshairs or setting up your radar, an autoexec file keeps everything consistent.
Understanding CS2 Autoexec File
An autoexec file gives you full control over your in-game settings by applying commands automatically at launch. If you rely on specific configurations for performance, visuals, or comfort, this is one of the most useful tools available.
In this article, you’ll learn about:
- What the autoexec file does and how it works
- Step-by-step setup for creating and editing your autoexec
- How to load the file properly every time
- When and why to use an autoexec file in CS2
- The most popular Autoexec
Let’s get into the setup.
What is an Autoexec File?
An autoexec file (short for “auto execution“) is a configuration file that runs every time CS2 starts. It contains any custom console commands you want applied automatically. Instead of re-typing settings each time you play, you save them once in this file.
This helps keep your gameplay consistent. Whether it’s mouse input, HUD layout, or FPS display, the autoexec ensures your preferred setup is always active. It’s especially useful if you change PCs, reinstall CS2, or just want to avoid manual setup every time.
How to Create and Use an Autoexec File?
Setting up your autoexec file in CS2 takes only a few minutes. Just follow these steps:
1. Find Your CS2 Config Folder
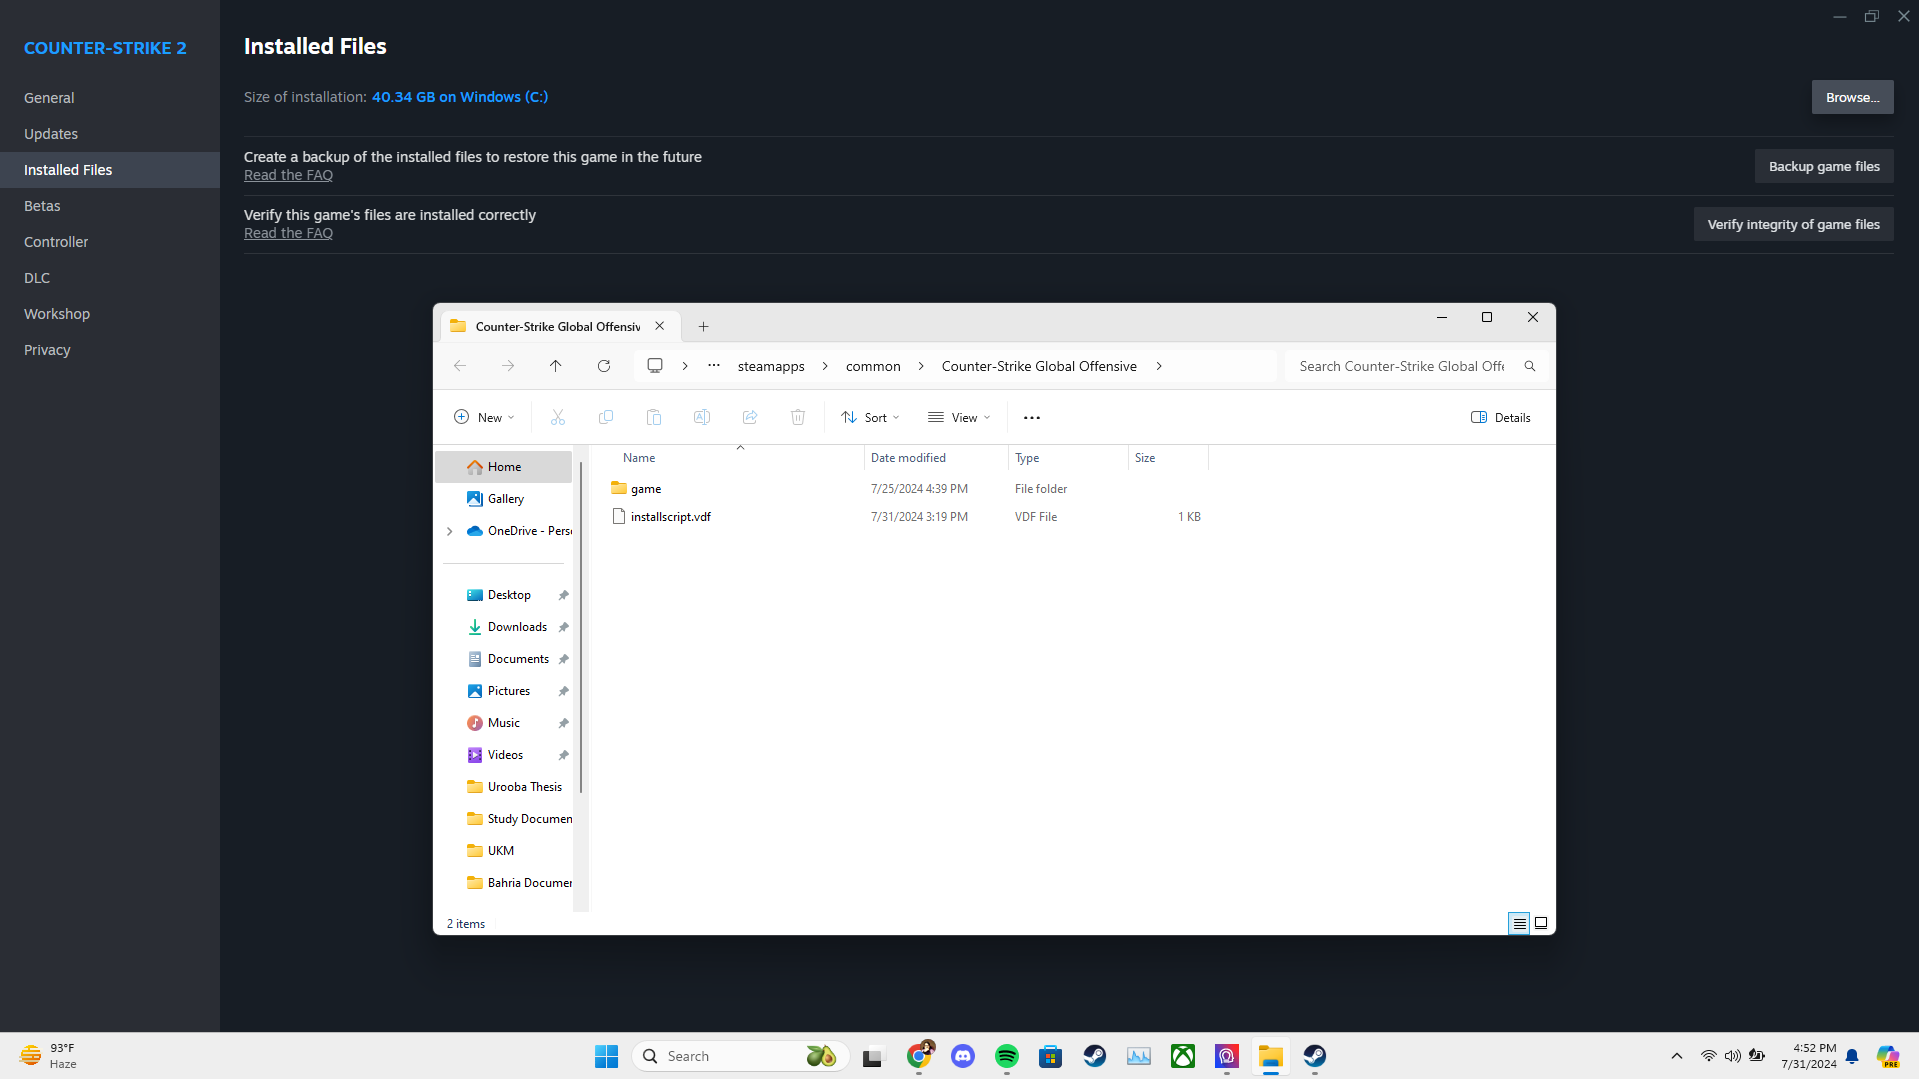
Find your CS2 installation folder, which is normally found at:
Steam\steamapps\common\Counter-Strike Global Offensive\csgo\cfg
Or right-click CS2 in your Steam library → Properties → Installed Files → Browse → Open the “cfg” folder.
[RELEVANT: Where to Place Autoexec file?]
2. Create the Autoexec File
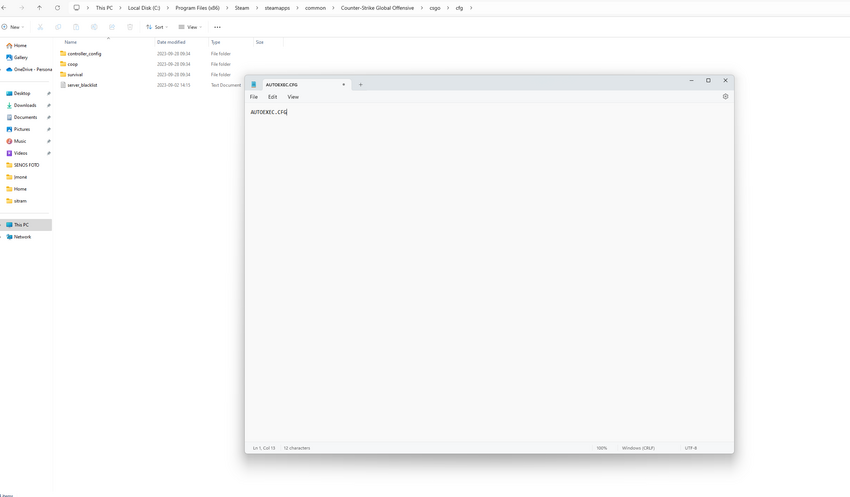
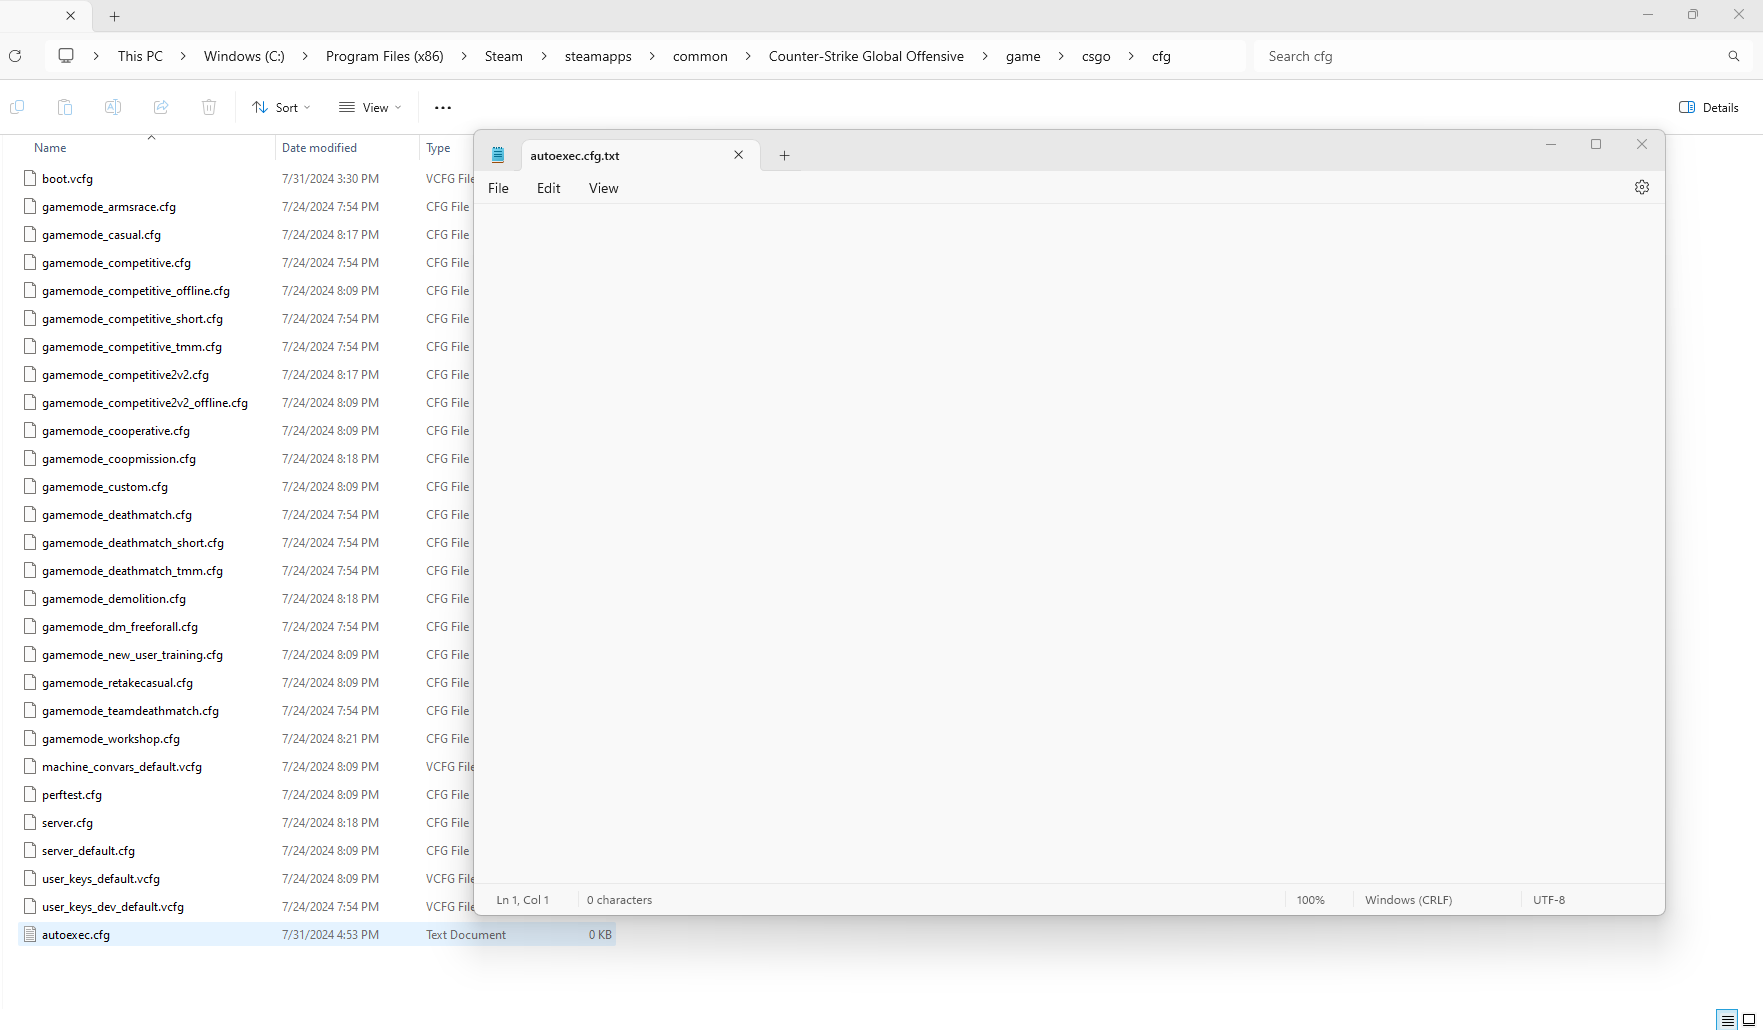
Inside the cfg folder, right-click → New → Text Document.
Rename it to autoexec.cfg. Make sure Windows doesn’t leave it as autoexec.cfg.txt.
3. Add Your Commands
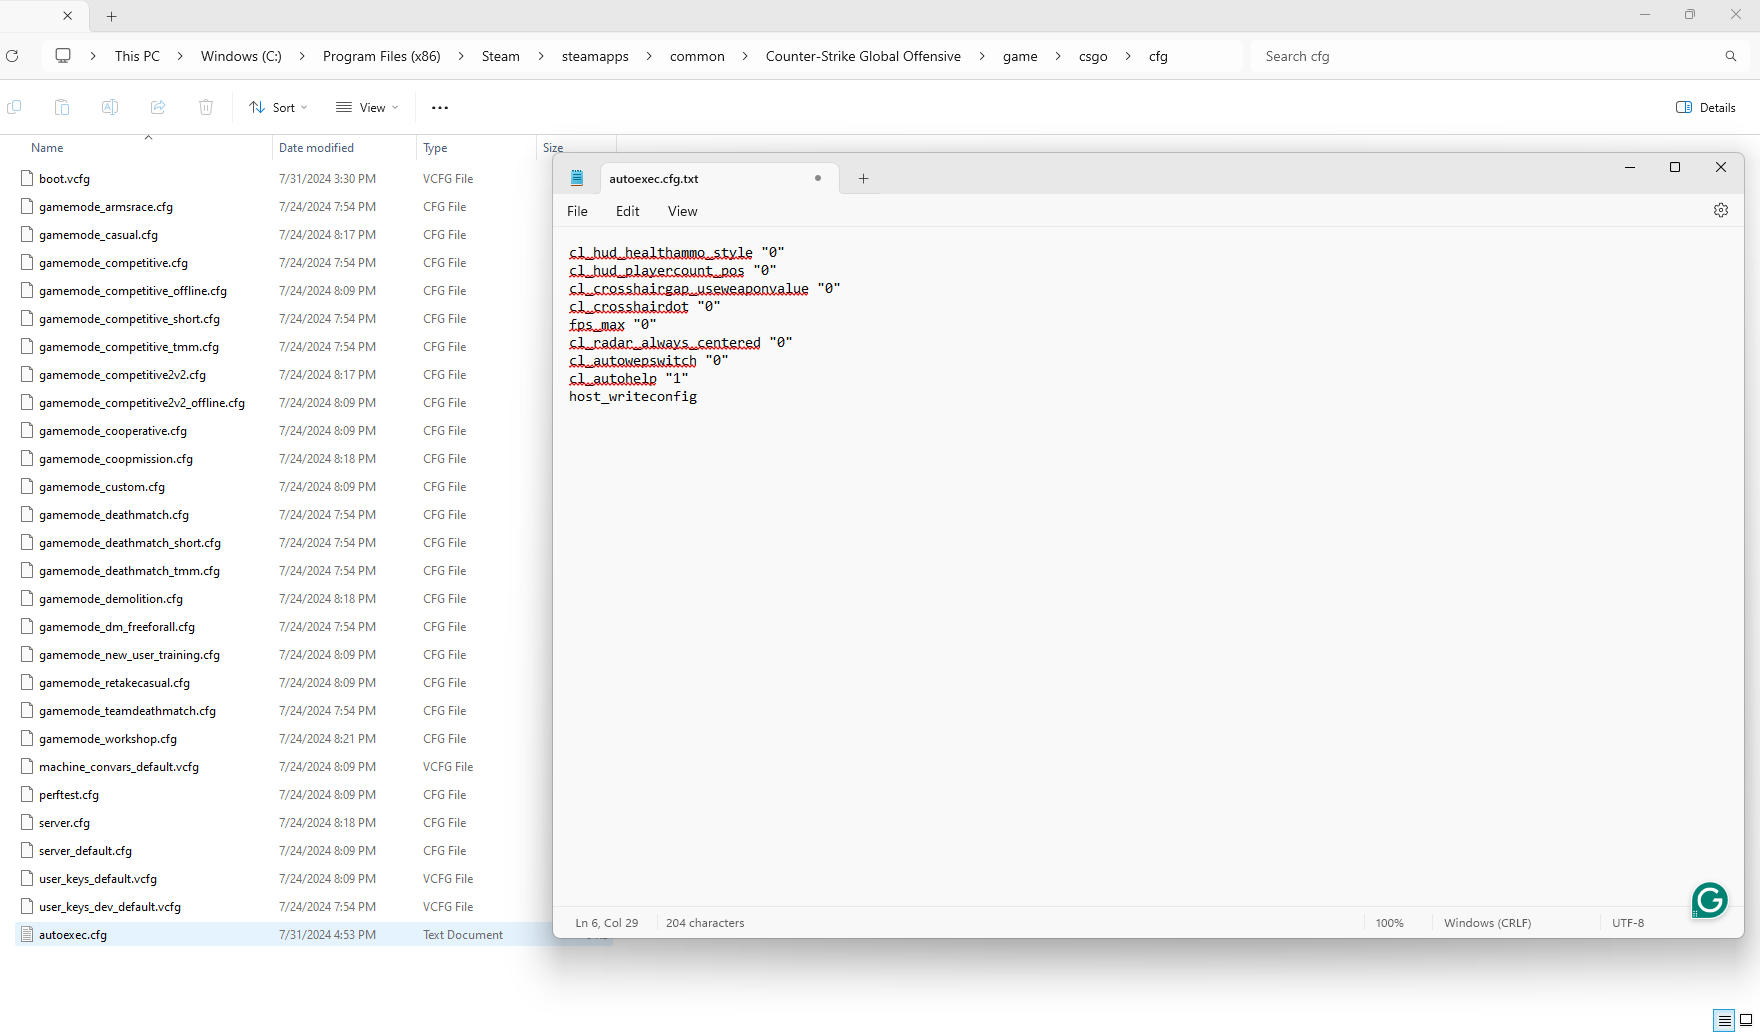
Open the file with Notepad. Add your favorite settings like:
cl_showfps 1– Shows FPSm_rawinput 1– Enables raw mouse inputnet_graph 1– Shows ping, FPS, and other data
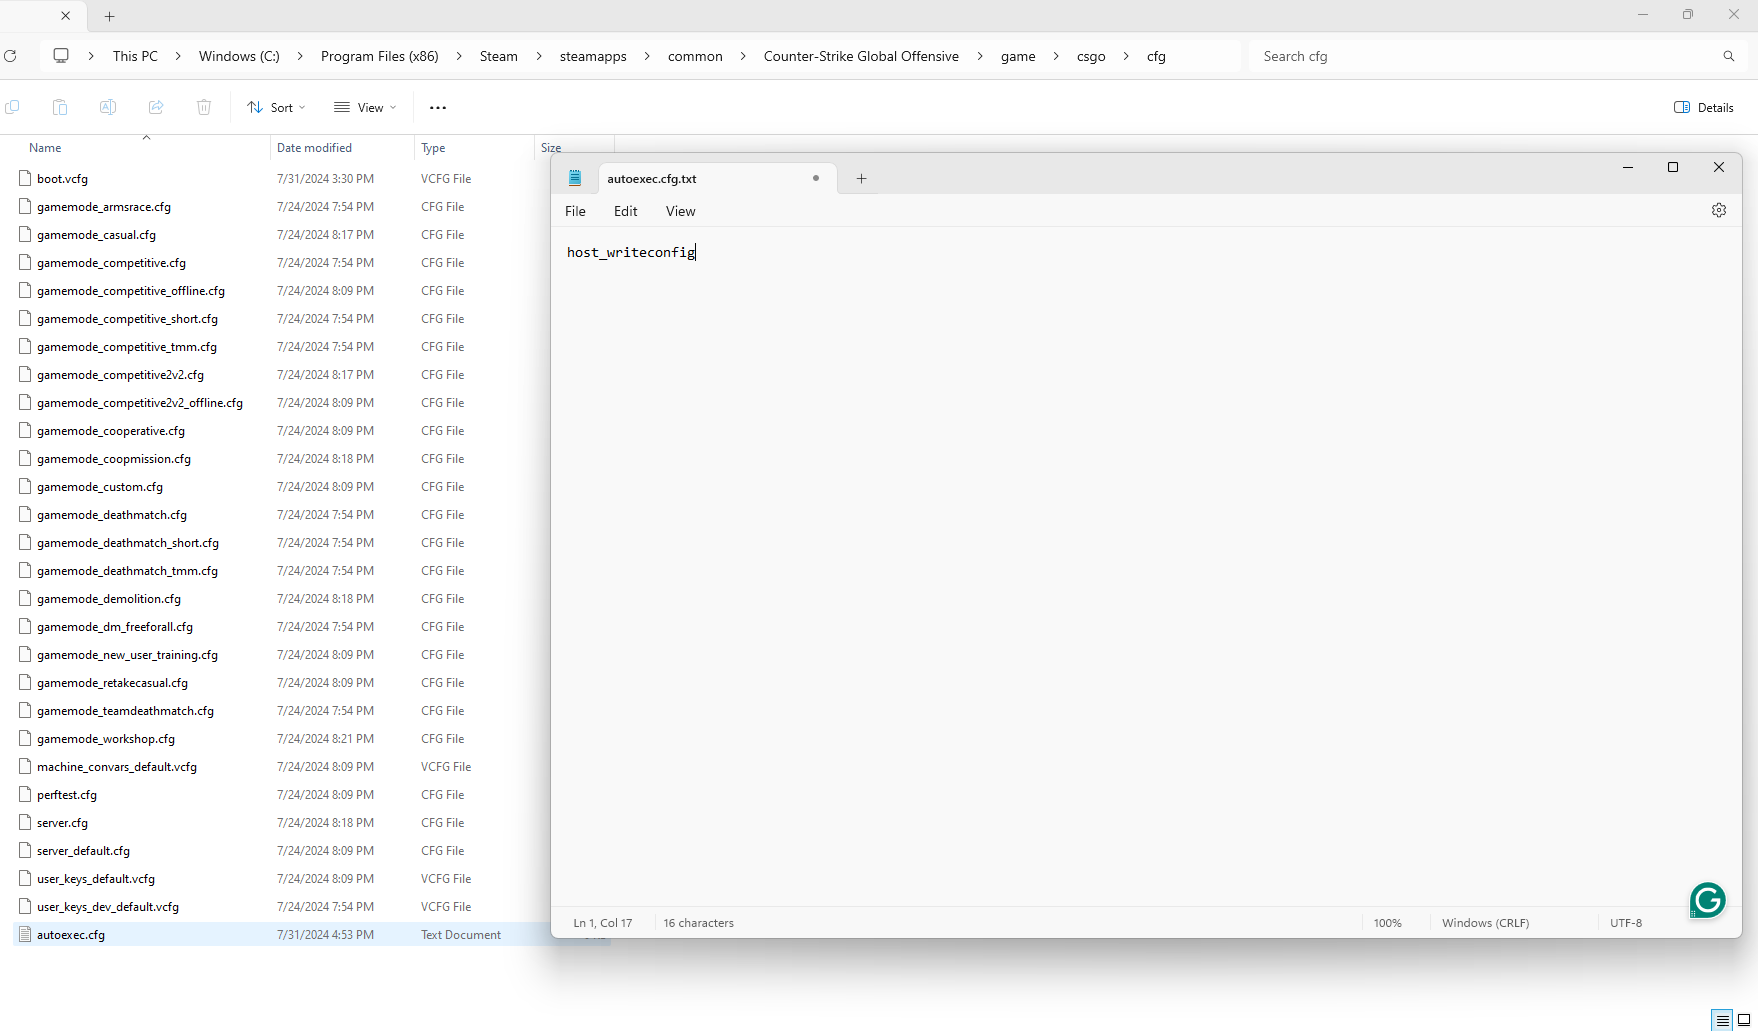
At the end, include:
host_writeconfig – This saves settings and ensures the file is recognized.
4. Load Autoexec Automatically

To force CS2 to run your file, add this to your launch options:
+exec autoexec.cfg
Right-click CS2 in Steam → Properties → General → Launch Options → paste the line above.
When and Why to Use an Autoexec
If you want your settings to stay the same across every session, the autoexec is the best solution. It’s especially helpful for players who rely on specific radar settings, HUD tweaks, or mouse input configurations.
Pro players use autoexec files to maintain precise control over their setup. But even casual players benefit from it- you save time and reduce setup errors before matches.
It also makes it easier to copy your full setup to another PC. Just bring your autoexec file and drop it into the new config folder.
Common commands people include:
| Command | Description with Possible Values |
|---|---|
m_rawinput |
Ignores Windows mouse settings for raw input. Values: 0 (off), 1 (on). On improves input accuracy by bypassing OS mouse acceleration. |
cl_radar_scale |
Adjusts radar size. Range: 0.25 (zoomed in) to 1 (zoomed out). Lower values show less map but more detail nearby. |
net_graph |
Displays network stats on screen. Values: 0 (off), 1 (basic), 2-4 (more detailed). Higher shows FPS, ping, packet loss, and more. |
ammo_grenade_limit_total |
Sets max grenades a player can carry. Range: 0-5. 5 allows carrying all grenade types at once. |
cl_crosshairalpha |
Controls crosshair transparency. Range: 0 (invisible) to 255 (fully opaque). |
cl_crosshaircolor |
Changes crosshair color by presets. Values: 0-4 (each number corresponds to a different preset color). |
cl_crosshaircolor_alpha |
Sets opacity of crosshair color. Range: 0 (transparent) to 255 (opaque). |
cl_crosshaircolor_b |
Sets blue value of crosshair color. Range: 0-255. |
cl_crosshaircolor_g |
Sets green value of crosshair color. Range: 0-255. |
cl_crosshaircolor_r |
Sets red value of crosshair color. Range: 0-255. |
cl_crosshairdot |
Enables or disables center dot. Values: 0 (off), 1 (on). Setting size to 0 shows only dot. |
cl_crosshairgap |
Adjusts crosshair center gap. Range: -2 (small gap) to 2 (large gap). |
cl_crosshairsize |
Sets crosshair line length. Range: 0 to 1000 (higher is longer lines). |
cl_crosshairstyle |
Sets crosshair style and behavior. Range: 1-5 (varies from static to dynamic and animated styles). |
cl_crosshairthickness |
Adjusts line thickness. Range: 0.1 (thin) to 3 (thick). |
cl_crosshair_t |
Makes crosshair “T” shaped by hiding top line. Values: 0 (normal), 1 (T shape). |
cl_crosshair_drawoutline |
Enables black outline around crosshair. Values: 0 (off), 1 (on). |
cl_crosshair_outlinethickness |
Sets outline thickness. Range: 0.1 to 3. |
cl_drawhud |
Toggles HUD display. Values: 0 (off), 1 (on). |
cl_hud_color |
Changes HUD color scheme. Range: 0-10 (each number a different color). |
cl_hud_radar_scale |
Adjusts radar size on HUD. Range: 0.8 to 1.3. |
cl_interp |
Sets network interpolation delay. Typical values: 0.031 to 0.1 seconds. |
cl_interp_hermite |
Toggles advanced interpolation method. Values: 0 (off), 1 (on). |
cl_netgraph |
Displays network stats. Values: 0 (off), 1 (basic), 2-4 (more detail). |
cl_radar_always_centered |
Keeps radar centered on player. Values: 0 (off), 1 (on). |
cl_radar_icon_scale_min |
Adjusts size of player dot on radar. Range: 0.4 to 1.25. |
cl_radar_rotate |
Toggles radar rotation with camera. Values: 0 (fixed), 1 (rotates). |
cl_radar_square_with_scoreboard |
Changes radar shape when scoreboard is open. Values: 0 (circle), 1 (square). |
cl_reload_hud |
Reloads HUD to default scale and layout. |
cl_showfps |
Shows FPS on screen. Values: 0 (off), 1-4 (detail levels). |
cl_show_team_equipment |
Displays teammates’ weapons and gear above heads. Values: 0 (off), 1 (on). |
cl_updaterate |
Sets server update packets per second. Common values: 64, 128, 256. |
fps_max |
Caps max FPS. Values: 0 (unlimited) or specific number. |
sensitivity |
Adjusts mouse sensitivity. Values vary by player preference. |
sv_grenade_trajectory |
Shows grenade trajectory lines. Values: 0 (off), 1 (on). |
sv_grenade_trajectory_prac_pipreview |
Shows grenade landing preview in practice mode. Usually set to 1 (on). |
sv_grenade_trajectory_prac_trailtime |
Sets duration grenade trajectory is shown in practice. Range: 0-60 seconds. |
sv_grenade_trajectory_time_spectator |
Sets grenade trajectory visibility time for spectators. Range: 0-60 seconds. |
sv_infinite_ammo |
Enables unlimited ammo without reload. Values: 0 (off), 1 (on). |
sv_showimpacts |
Shows bullet impact locations. Values: 0 (off), 1 (on). |
sv_showimpacts_time |
Duration bullet impacts are shown. Range: 0-1 second. |
viewmodel_fov |
Adjusts weapon model FOV. Range: 54 to 68 degrees. |
viewmodel_offset_x |
Sets horizontal offset of weapon model. Range: -2.5 to 2.5. |
viewmodel_offset_y |
Sets vertical offset of weapon model. Range: -2 to 2. |
viewmodel_offset_z |
Sets depth offset of weapon model. Range: -2 to 2. |
viewmodel_presetpos |
Selects preset weapon model positions. Values: 1 (Desktop), 2 (Couch), 3 (Classic). |
[RELEVANT: How to Train CS2 Aim]
Conclusion
The autoexec file in CS2 is a simple way to keep your settings consistent and avoid repeating the same setup every time. Once it’s in place, you’ll spend less time adjusting commands and more time focusing on your matches. Set it up once and you’re good to go.