Effective communication is key in CS2, and a good microphone setup makes all the difference. Many players, however, struggle with switching their mic input in-game. If you’re looking to change your microphone in CS2, here’s a simple guide to help you get it set up.
Changing Microphone in CS2
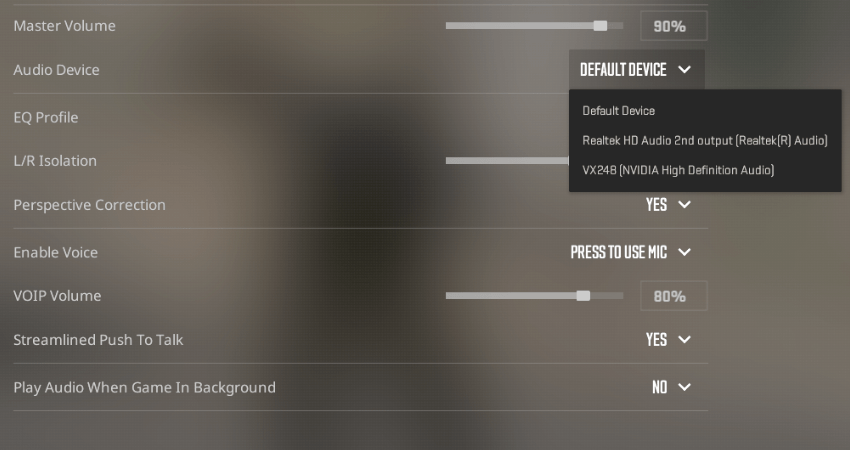
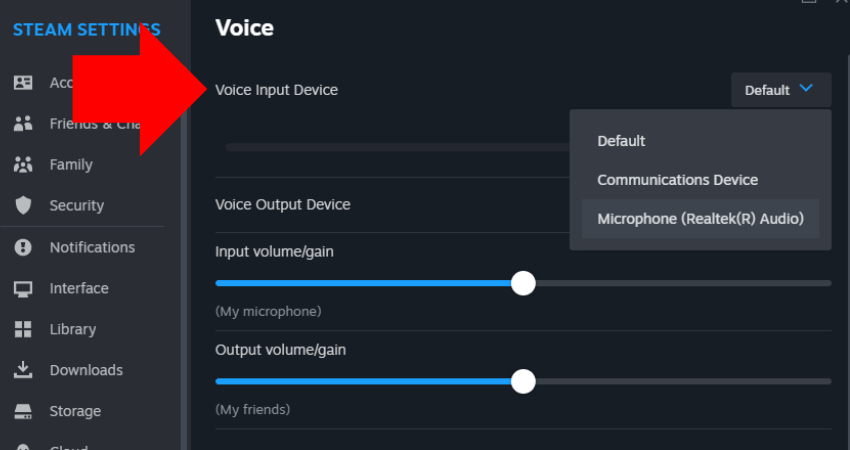
In CS2’s audio settings, you’ll see an option called “Audio Device”. This only controls where the game’s sound is played, such as through your headphones or speakers. It doesn’t change which microphone is used for voice chat. Switching the audio device here will not adjust your mic, only the sound output. If you need to change your microphone, you’ll have to do it in Steam’s voice settings, not in the CS2 menu.
To update your mic, open Steam, click “Steam” in the top left, go to “Settings,” then select “Voice.” Here, you can choose your preferred microphone under “Voice Input Device.” If you’re still not sure how to do it, check the steps below to make sure your mic is set up correctly
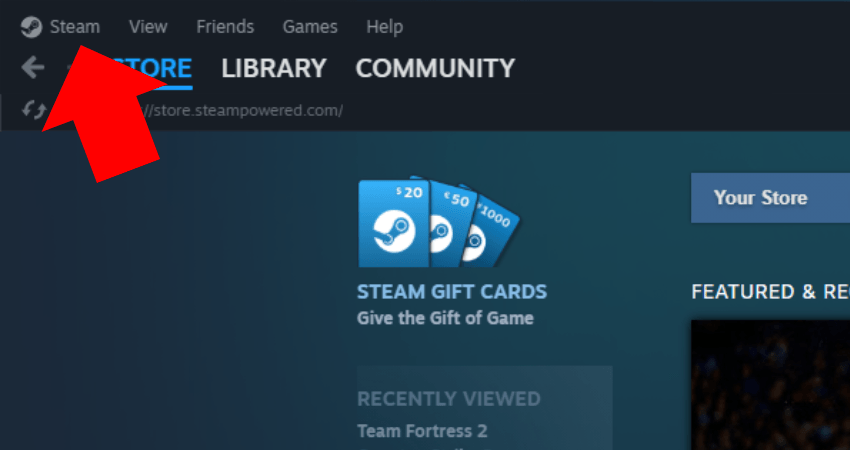
- Step 1: Open Steam and click on the “Steam” button in the top-left corner.
- Step 2: From the drop-down menu, select “Settings..
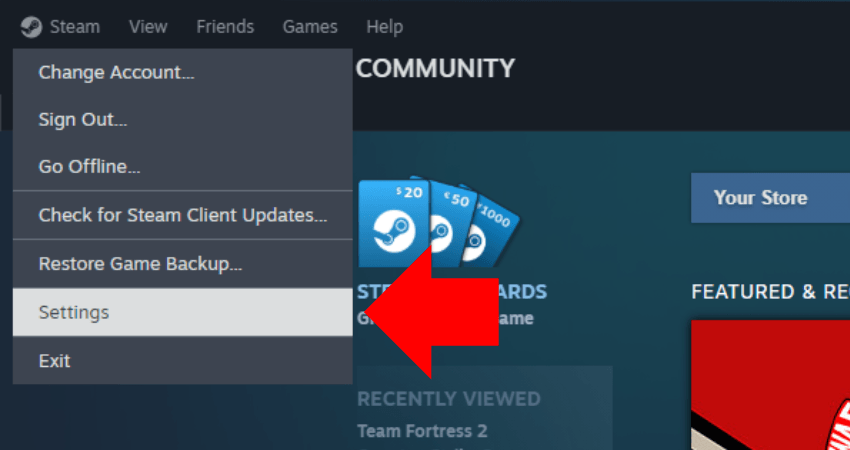
- Step 3: In the Settings window, go to the “Voice” tab.
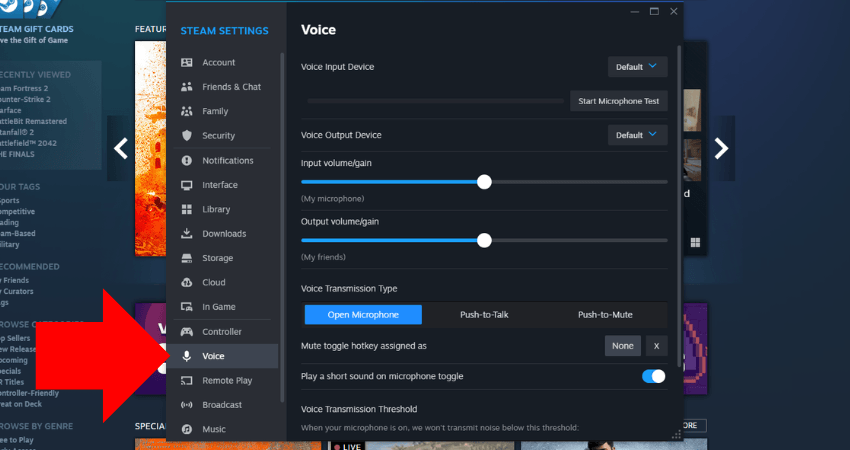
- Step 4: In the “Voice Input Device” section, choose the mic you want to use for CS2.
[RELEVANT: CS2 Communication Guide]
Step-by-Step Video Tutorial
Conclusion
Changing the mic directly within CS2 isn’t possible since there’s no in-game setting for it. Fortunately, you can easily switch it through the Steam settings. Just follow our step-by-step instructions above, and you’ll have your mic set up in no time.