
Mid control on Anubis can give Ts more freedom during the round. Holding that part of the map makes it easier to pressure both sites and react to the CT setup. This lesson explains how to approach mid control effectively on Anubis.
Taking Mid Control on Anubis as T
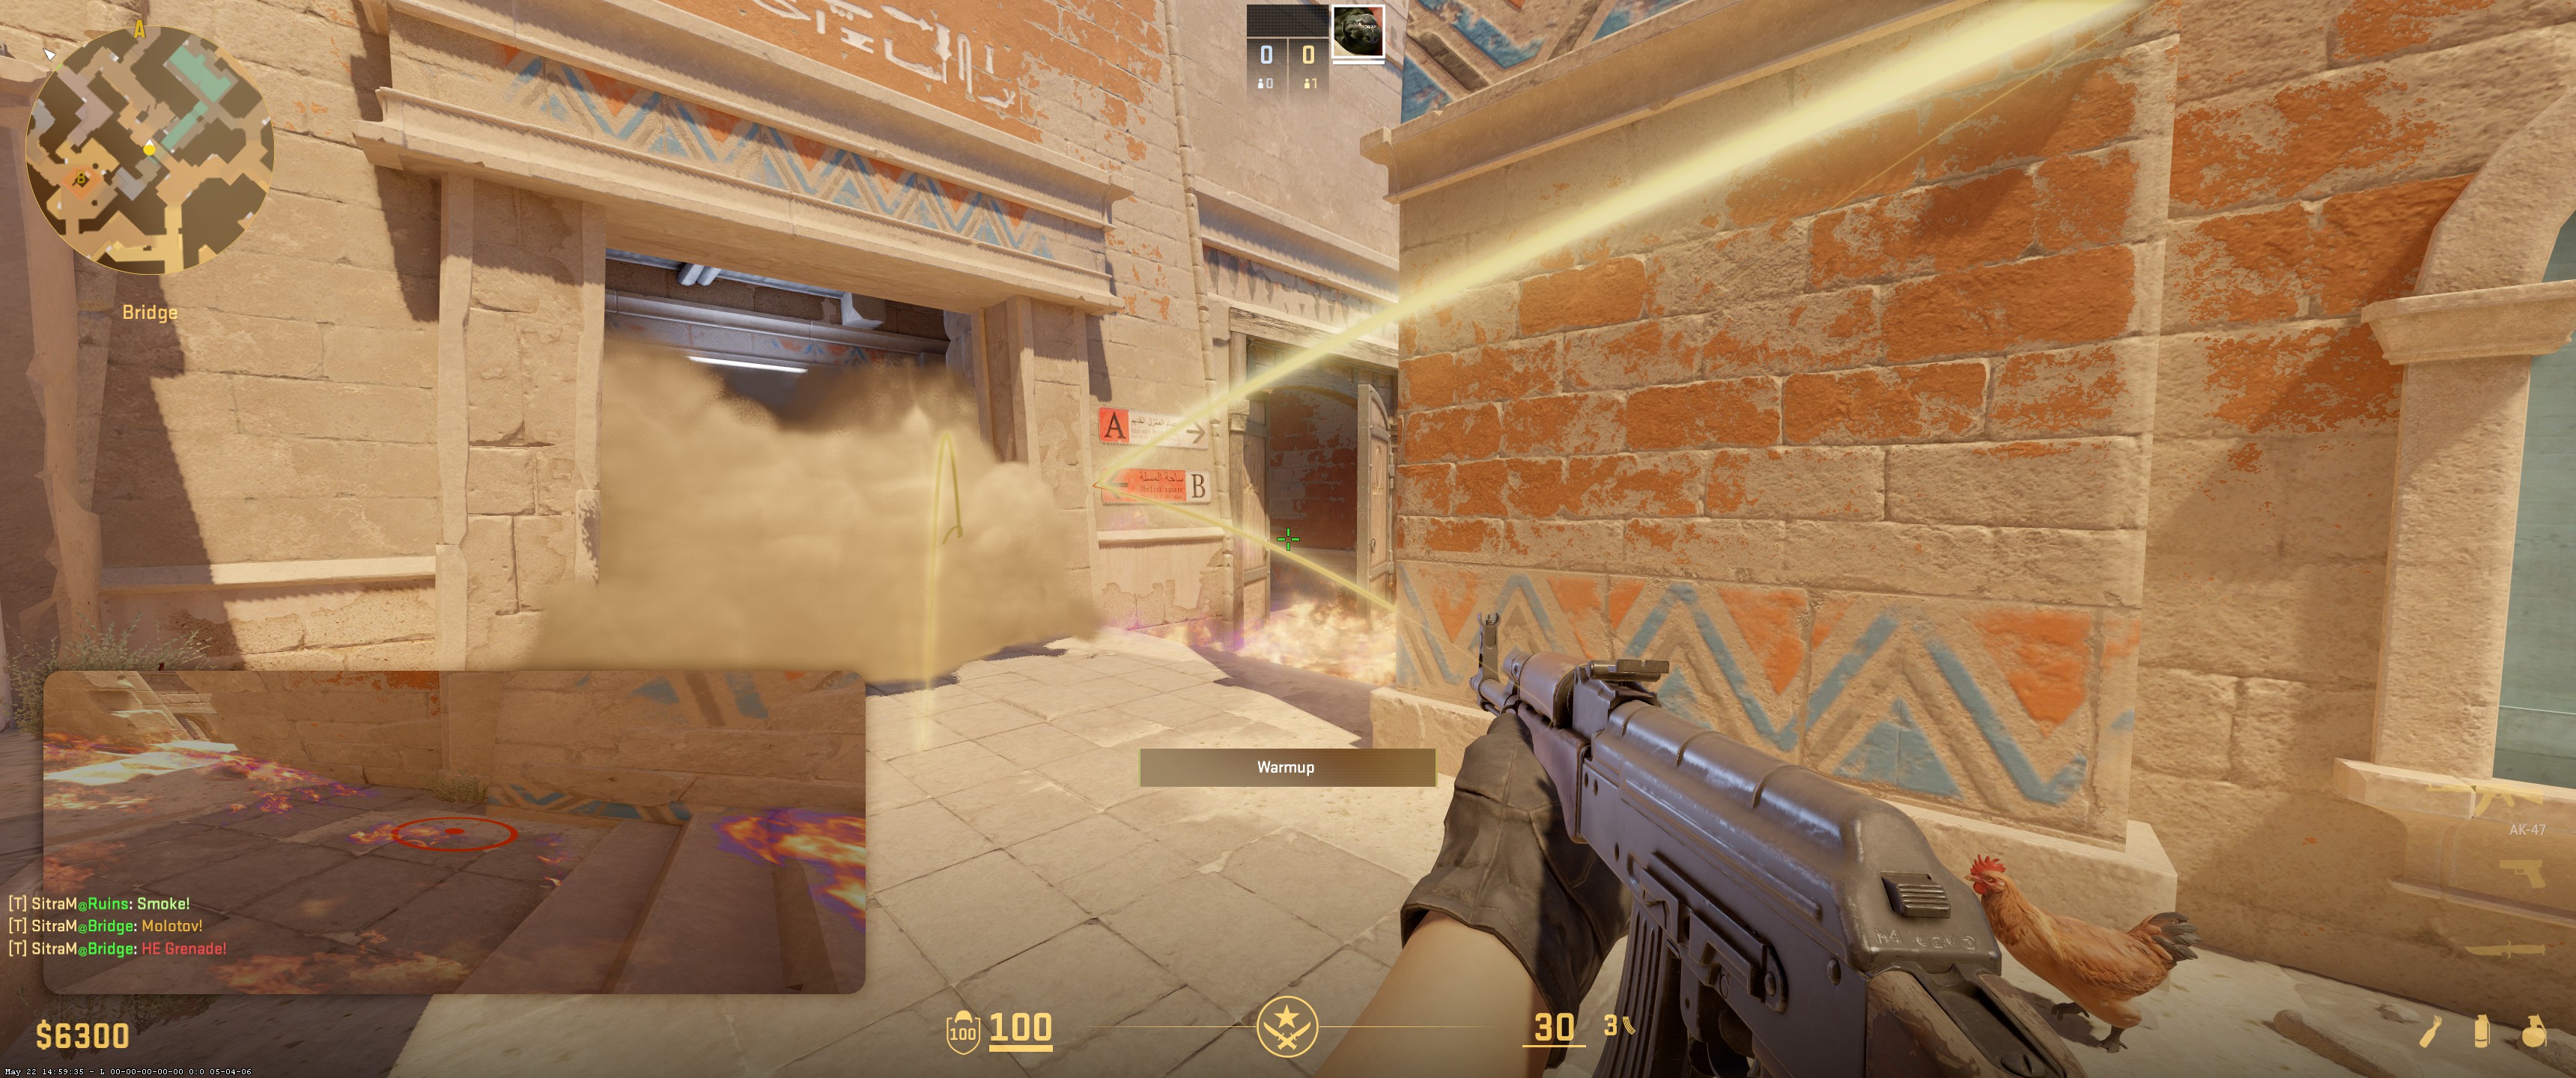
Mid control usually starts with teamwork and proper spacing. Players should move together and support each other with utility so no one takes an isolated fight. Early coordination often decides whether the team secures control or gets pushed back.
Utility is important when fighting for mid. Smokes and flashes help remove common defensive angles and allow Ts to move forward safely. The video lesson explains how to combine movement and utility, so try applying those ideas in your own matches.
Once mid is taken, communication becomes important. Calling what you see or hear helps the team decide how to use that control. Information from mid can guide the team’s next move during the round.
Conclusion
Mid control on Anubis gives Ts more options during the round and helps the team stay flexible. Try using the ideas from the video lesson in your own matches. If you have your own mid control thoughts or questions, leave them in the comments below.